 Pin It
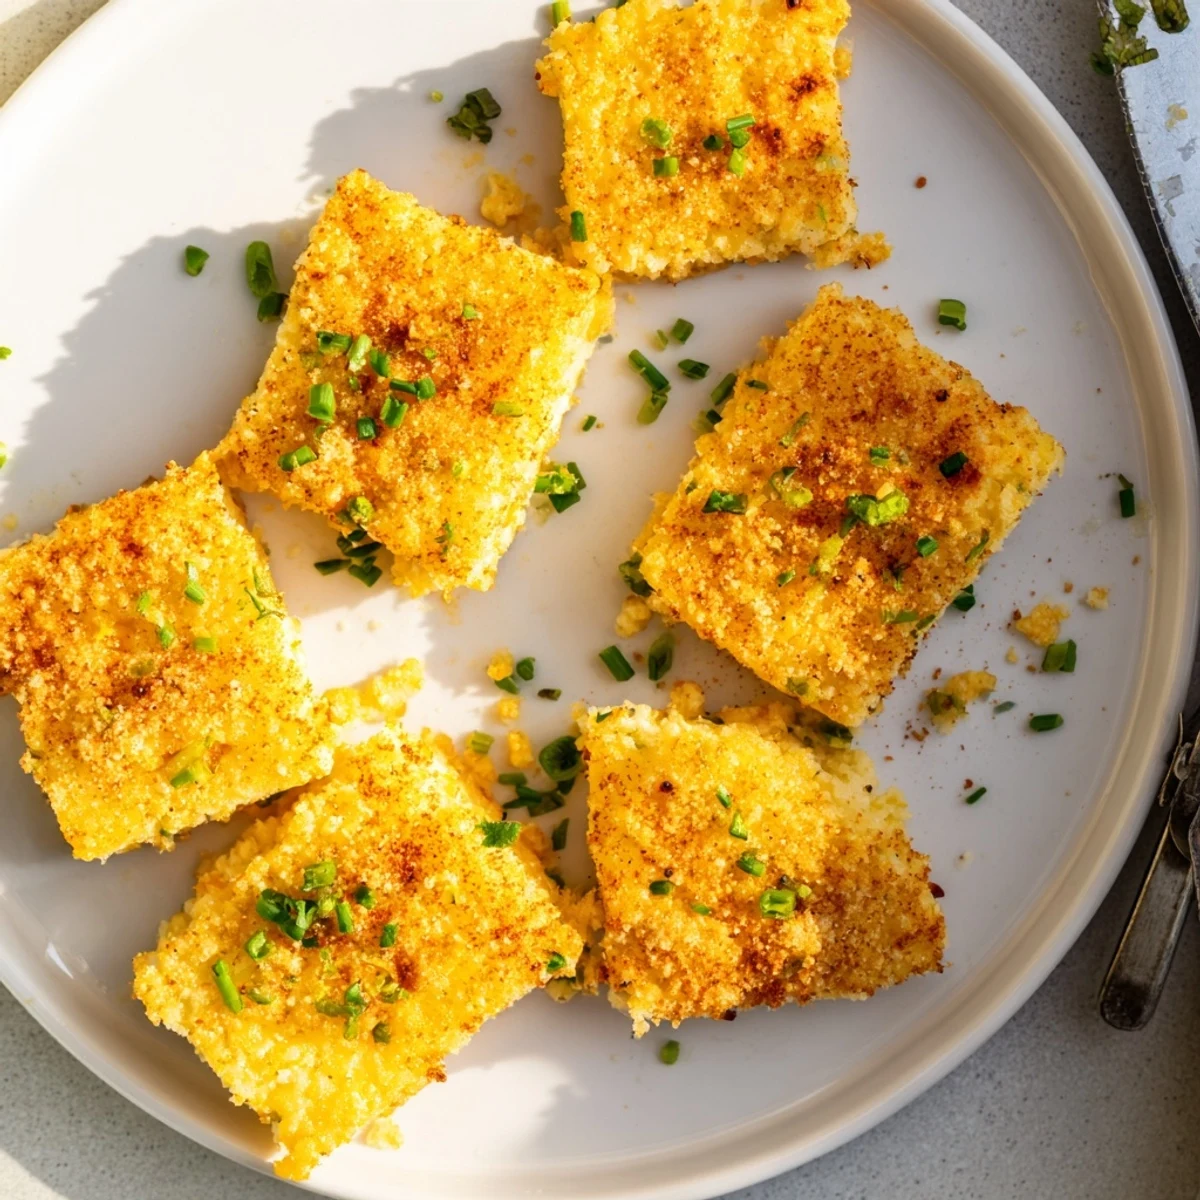
 These ultra-crispy baked bites combine sharp cheddar, Parmesan, fresh chives, and a hint of smoked paprika into a crumbly dough that bakes up golden and irresistible. With just 10 minutes of prep and 18 in the oven, you get 24 crunchy squares perfect for parties, snack platters, or an afternoon pick-me-up. Swap in Gruyère or add cayenne for a twist.
My college roommate used to make something similar on Sunday afternoons while we studied, and the smell of toasted cheddar drifting through our tiny apartment became the unofficial signal that the weekend was winding down. I never got her exact recipe, so I spent months tweaking ratios until these little crisps matched that golden, savory memory. Now they are the first thing I bake when guests are expected and the last thing to disappear from the tray.
Last New Year's Eve I set out a plate of these alongside some olives and jam, and by midnight three people had asked for the recipe on the spot. One friend actually stood by the kitchen counter eating them straight off the cooling rack before I could even transfer them to a serving plate. That is the kind of snack this is.
Ingredients
- All-purpose flour: Provides the structure that holds everything together without making the crisps heavy or bread-like
- Baking powder: Just a small amount gives a subtle lift so each piece puffs slightly rather than staying flat and hard
- Fine sea salt: Enhances the cheese flavor and balances the richness, use fine grain so it distributes evenly
- Shredded sharp cheddar cheese: The star of the show, sharp cheddar has less moisture than mild so your crisps turn out genuinely crispy
- Grated Parmesan: Adds a nutty, salty depth that makes people wonder what your secret ingredient is
- Unsalted butter, cold and diced: Cold butter creates tiny pockets of steam as it bakes, which is what gives you that delicate, flaky texture
- Fresh chives: A bright, oniony note that cuts through the heaviness of the cheese beautifully
- Smoked paprika: Optional but worth it, it adds a whisper of campfire warmth without any real heat
- Garlic powder: Rounds out the savory profile and makes the kitchen smell incredible while baking
- Cold water: Brings the dough together gently, use it sparingly so the crisps stay light
Instructions
- Preheat and prepare your workspace:
- Set your oven to 375°F and line a baking sheet with parchment paper so nothing sticks and cleanup is effortless.
- Whisk the dry base together:
- Combine the flour, baking powder, and sea salt in a mixing bowl until evenly blended.
- Work in the cheese and butter:
- Add the cheddar, Parmesan, cold diced butter, chives, paprika, and garlic powder, then use your fingertips to rub everything into a crumbly, sandy mixture.
- Bring it together with water:
- Sprinkle in cold water one tablespoon at a time, folding gently until the dough just holds together when you press it.
- Roll and cut:
- Turn the dough onto a lightly floured surface and roll it to about 1/8 inch thick, then cut into 2-inch squares or any shape you like.
- Bake until golden:
- Arrange the pieces on your prepared sheet and bake for 16 to 18 minutes until the edges are deeply golden and the centers feel firm.
- Cool completely:
- Transfer to a wire rack and let them cool, because they continue to crisp up as they sit.
 Pin It
 My mom called these little cheese coins when I finally made them for her, and she ate four before admitting she did not think a homemade snack could rival store-bought crackers. Watching her reach for a fifth was honestly one of the best compliments my kitchen has ever received.
Getting the Cheese Right
I have learned that pre-shredded cheese in a bag is coated with anti-caking agents that prevent it from melting and crisping the way you want. Grating a block of cheddar yourself takes an extra two minutes and the difference in texture is impossible to ignore. The cheese actually fuses into the dough instead of sitting in separate oily pockets.
Rolling Without the Frustration
If the dough feels sticky or tears when you roll it, slide it onto a sheet of parchment and place another sheet on top, then roll between the two. This trick saved me countless times when I was first getting the hang of working with such a short, buttery dough. It also means you can lift the whole sheet directly onto your baking sheet without the pieces losing their shape.
Serving Ideas and Last-Minute Swaps
These crisps pair just as well with a cold beer as they do with a glass of white wine, and they hold up beautifully on a charcuterie board next to fruit and cured meats. I have also packed them in small bags for road trips where they survived two days without going stale.
- A pinch of cayenne mixed into the dough turns these into something people cannot stop eating
- Swapping cheddar for Gruyère gives a sweeter, more complex flavor that surprises every time
- Make them a few days ahead and store in an airtight container at room temperature
 Pin It
 There is something quietly satisfying about turning flour, butter, and cheese into something that makes people pause their conversations and reach for another. These little crisps have earned a permanent spot in my kitchen, and I suspect they will in yours too.
Recipe Questions & Answers
- → Can I make the dough ahead of time?
-
Yes, wrap the dough tightly in plastic wrap and refrigerate for up to 24 hours. Let it sit at room temperature for about 10 minutes before rolling out.
- → What cheese works best for maximum crispiness?
-
Sharp cheddar paired with Parmesan gives the best crunch and flavor. Gruyère is a great alternative if you want a nuttier, deeper taste.
- → How do I store leftover baked bites?
-
Keep them in an airtight container at room temperature for up to 3 days. Reheat in a 350°F oven for 5 minutes to restore crispiness.
- → Can I freeze these before or after baking?
-
Both work. Freeze cut shapes on a baking sheet, then transfer to a bag for up to 2 months. Bake straight from frozen, adding 2–3 extra minutes.
- → How do I get them extra crispy?
-
Roll the dough as thin as possible — about 1/8 inch. Thicker pieces stay softer in the center. Also make sure the oven is fully preheated before baking.