 Pin It
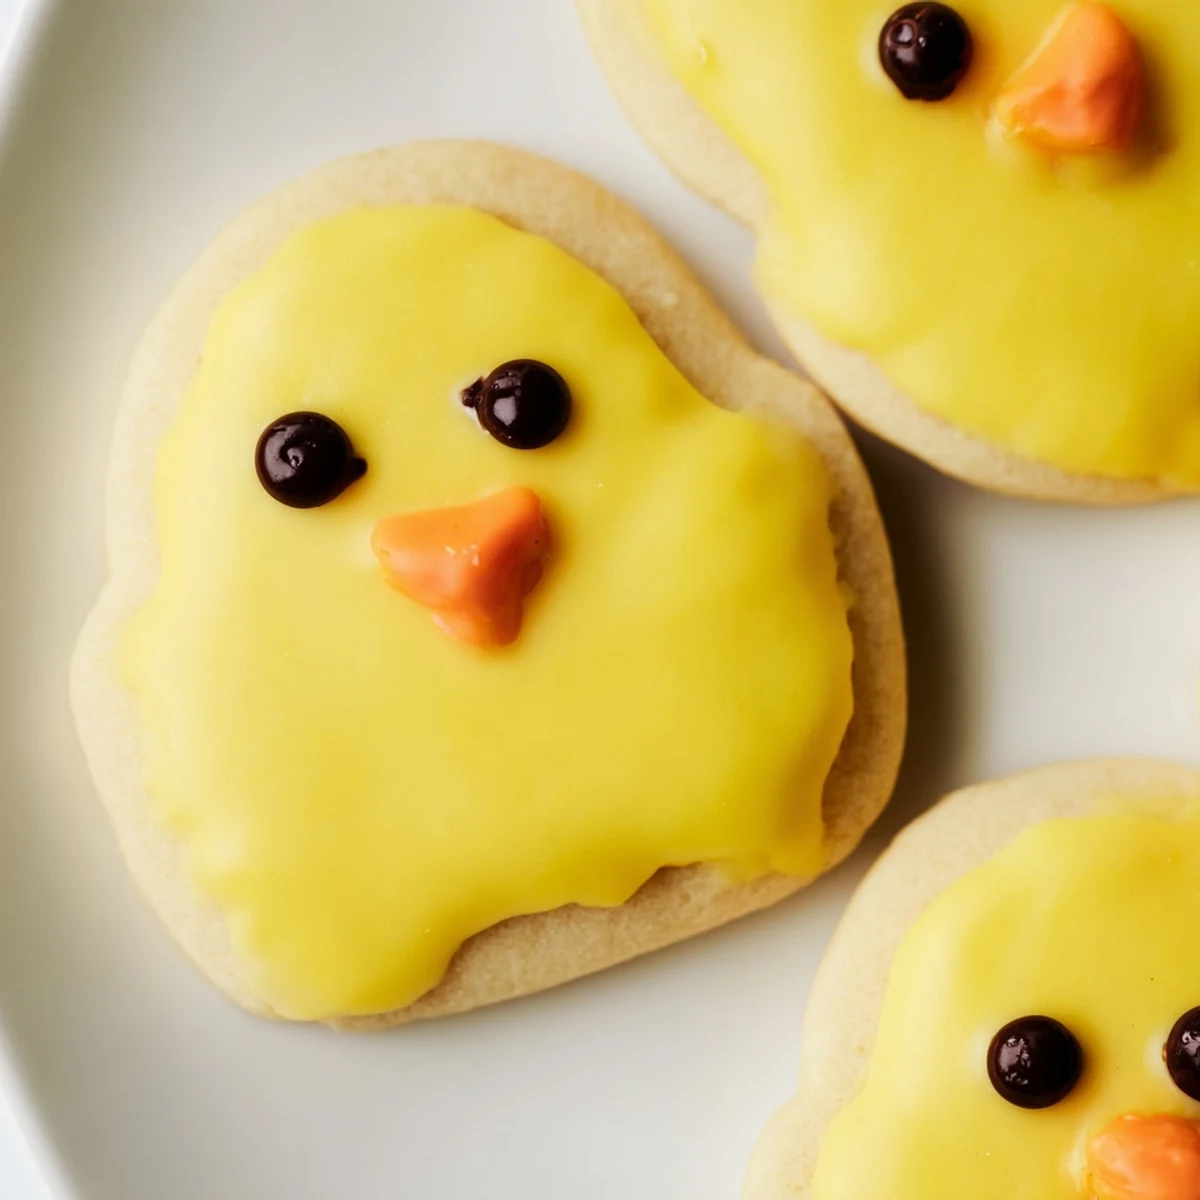
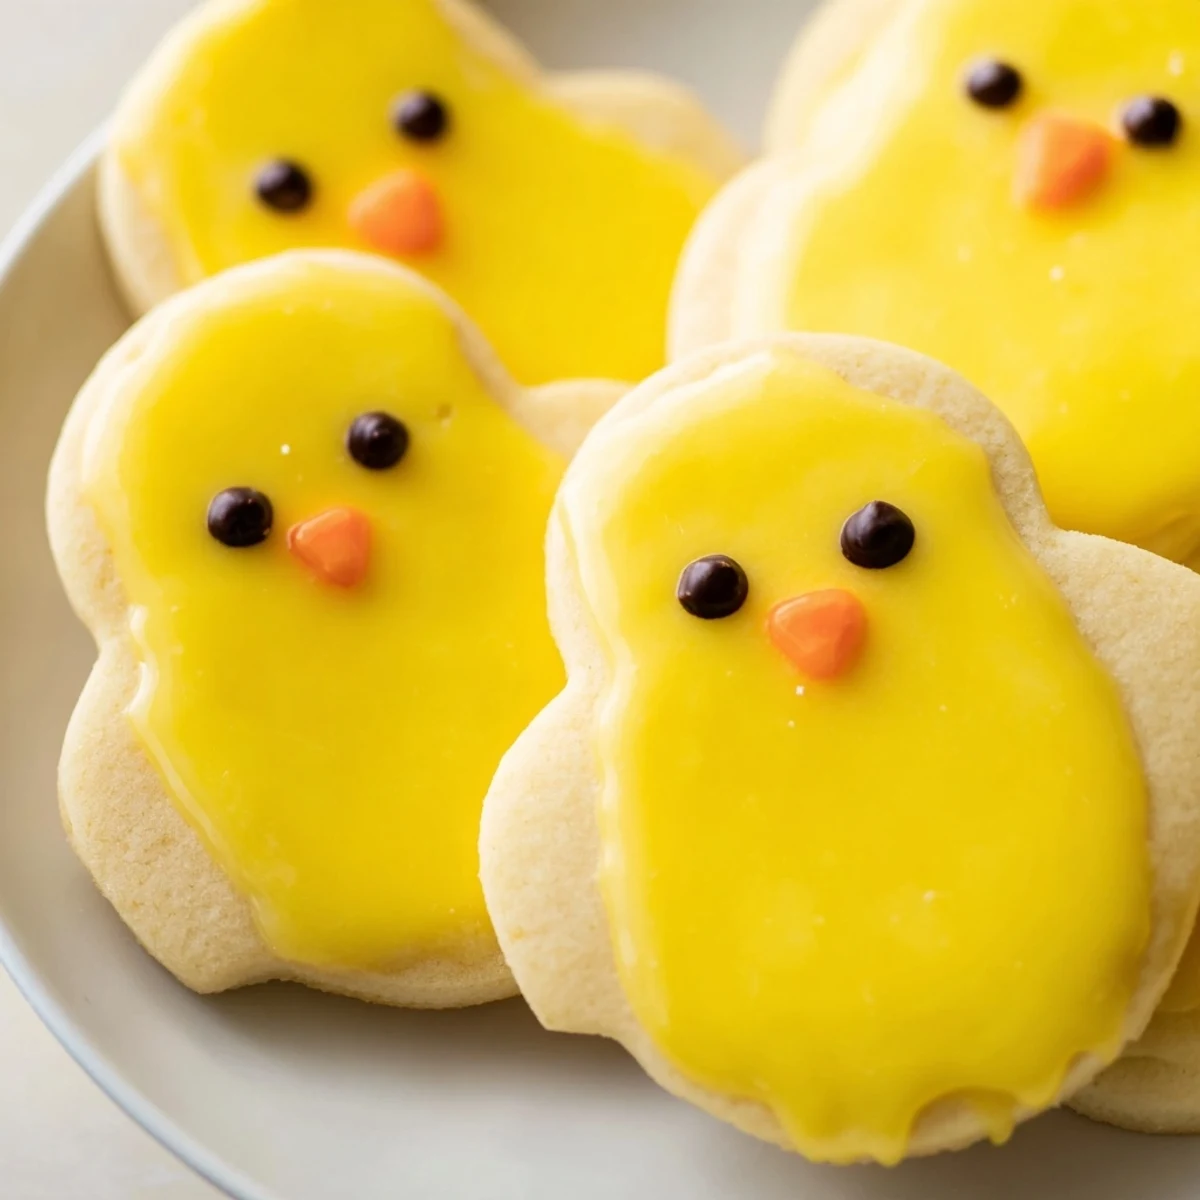
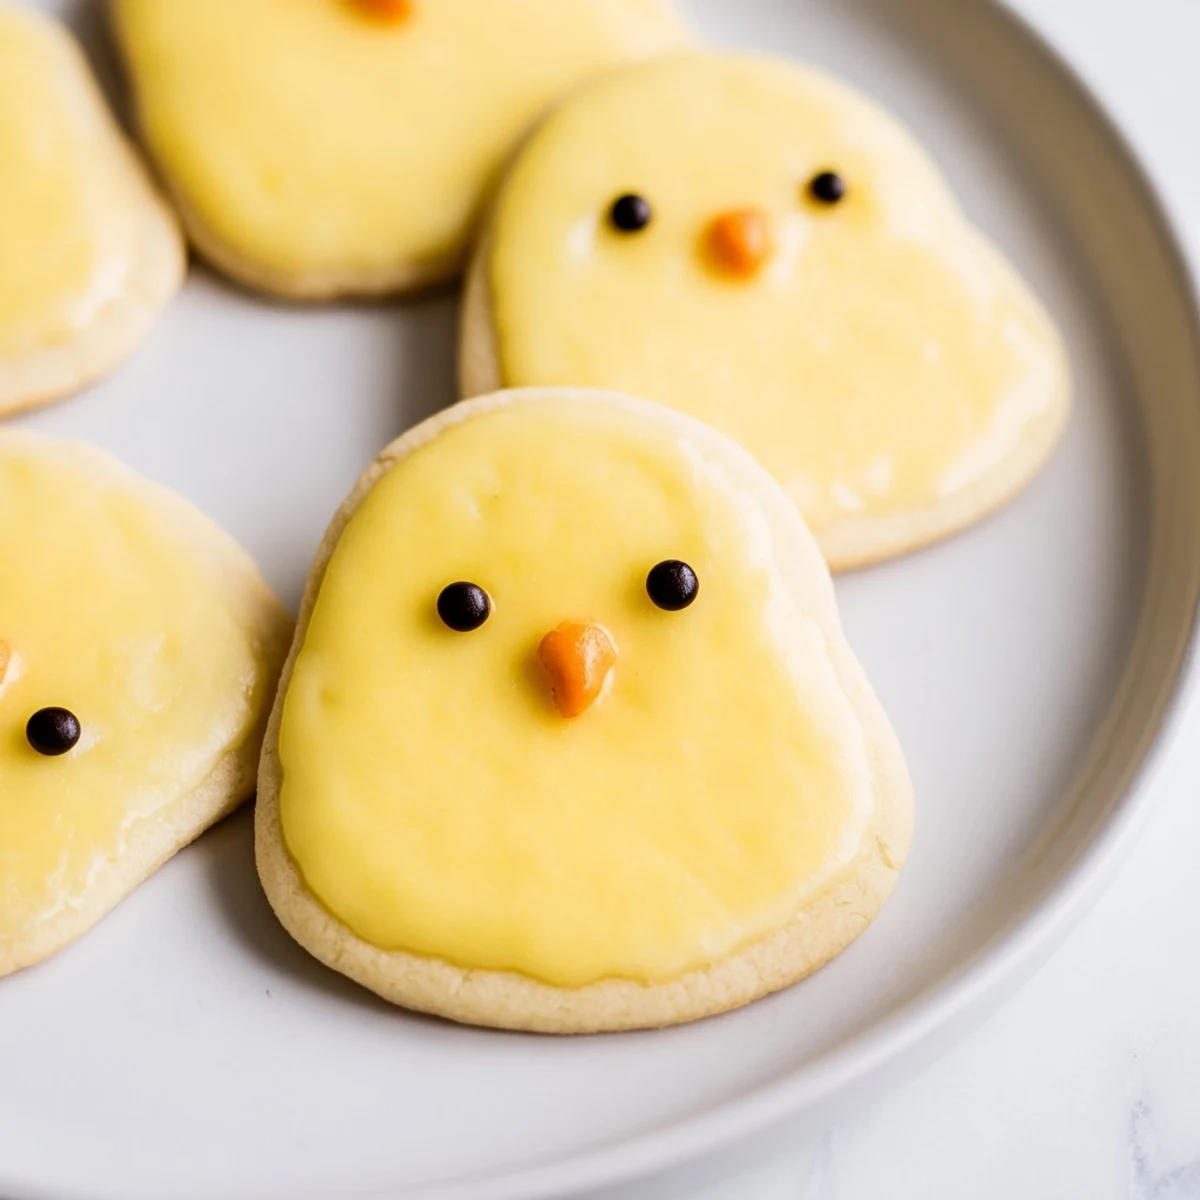
 These delightful chick-shaped sugar cookies bring whimsy to any spring gathering. The buttery dough receives a vibrant yellow hue before being shaped into charming two-piece bodies—spheres pressed together to form head and torso. After a quick bake, a simple powdered sugar glaze adds shine while chocolate chip eyes and orange candy beaks bring each character to life.
The process moves quickly from mixing bowl to oven in just thirty minutes. Though the shaping requires a bit of patience, the results reliably delight children and adults alike. Feel free to add lemon zest for brightness or colored sprinkles for extra festivity.
My niece asked me to help with her spring class party and she specifically wanted something cute. We spent a whole afternoon covered in yellow food coloring and flour, shaping these little chick cookies. The kids went absolutely wild for them and honestly, so did the parents.
Last Easter I made three batches because my family kept eating them before I could even pack them up for gifts. Something about those tiny faces staring back at you makes them irresistible to grab just one more.
Ingredients
- All-purpose flour: The structure that holds those cute shapes together without spreading too much
- Baking powder: Just enough lift to keep them tender but still sturdy enough to decorate
- Unsalted butter: Room temperature is crucial here so it incorporates properly for that melt in your mouth texture
- Granulated sugar: Sweetens without making the dough too sticky to work with
- Egg: Binds everything together while adding richness
- Vanilla extract: Pure vanilla makes such a difference in simple butter cookies
- Yellow food coloring: Gel coloring works best for vibrant color without adding liquid
- Powdered sugar and milk: Mix these into a simple glaze that adds a beautiful shine
- Black and orange decorating gel: These bring your chicks to life with tiny faces
Instructions
- Prep your oven and pans:
- Preheat to 350°F and line baking sheets with parchment paper so nothing sticks
- Mix the dry ingredients:
- Whisk flour, baking powder, and salt in a bowl so they are evenly distributed
- Cream the butter and sugar:
- Beat together until light and fluffy then add egg and vanilla until completely combined
- Combine and color:
- Gradually mix in dry ingredients then add yellow food coloring and knead until uniformly yellow
- Shape your chicks:
- Roll dough into balls then use one larger ball for the body and a smaller one for the head, pressing gently together
- Bake until just golden:
- Bake for 8 to 10 minutes until edges are barely golden then let cool completely before decorating
- Add the faces:
- Brush with glaze if desired then add eyes and beaks and let set before serving
 Pin It
 My daughter now requests these for every school event and has started coming up with her own variations. Last time she insisted on making some with tiny hats made from candy melts.
Making Ahead
You can make the dough up to three days ahead and store it wrapped tightly in the refrigerator. The dough actually develops better flavor after resting so this works in your favor.
Decoration Ideas
Beyond the classic faces try adding tiny wings with white frosting or use different colored sprinkles for feathers. Some bakers even use shredded coconut for a fluffy chick effect.
Serving Suggestions
These are perfect arranged in a nest made from chocolate Easter grass or piped frosting. They also look adorable perched on the rim of a mug filled with hot cocoa.
- Set up a decorating station at parties and let guests create their own chick faces
- Package individually in clear bags tied with yellow ribbon for party favors
- Make extra dough balls and freeze unbaked chicks for fresh cookies anytime
 Pin It
 These little chicks bring so much joy to spring gatherings and are absolutely worth the extra few minutes of shaping time.
Recipe Questions & Answers
- → Can I make the dough ahead of time?
-
Yes, the dough can be prepared up to 2 days in advance and stored refrigerated. Let it soften slightly at room temperature before shaping for easier handling.
- → What other shapes work with this dough?
-
This versatile dough adapts beautifully to any shape—try bunnies, flowers, or classic rounds. The texture remains tender regardless of form.
- → Can I freeze these cookies?
-
Freeze undecorated baked cookies for up to 3 months in airtight containers. Thaw completely before adding faces and glaze for best results.
- → What’s the best way to get even yellow color?
-
Start with gel food coloring rather than liquid for vibrant hue without altering dough consistency. Knead thoroughly until no streaks remain.
- → Can I skip the glaze?
-
Absolutely—the cookies shine beautifully without glaze. The plain surface works perfectly for buttercream frosting if you prefer a different finish.
- → My dough sticks to my hands—what should I do?
-
Chill the dough for 15 minutes or dust hands lightly with flour. Cooler temperature firms the butter while still maintaining smooth texture.