 Pin It
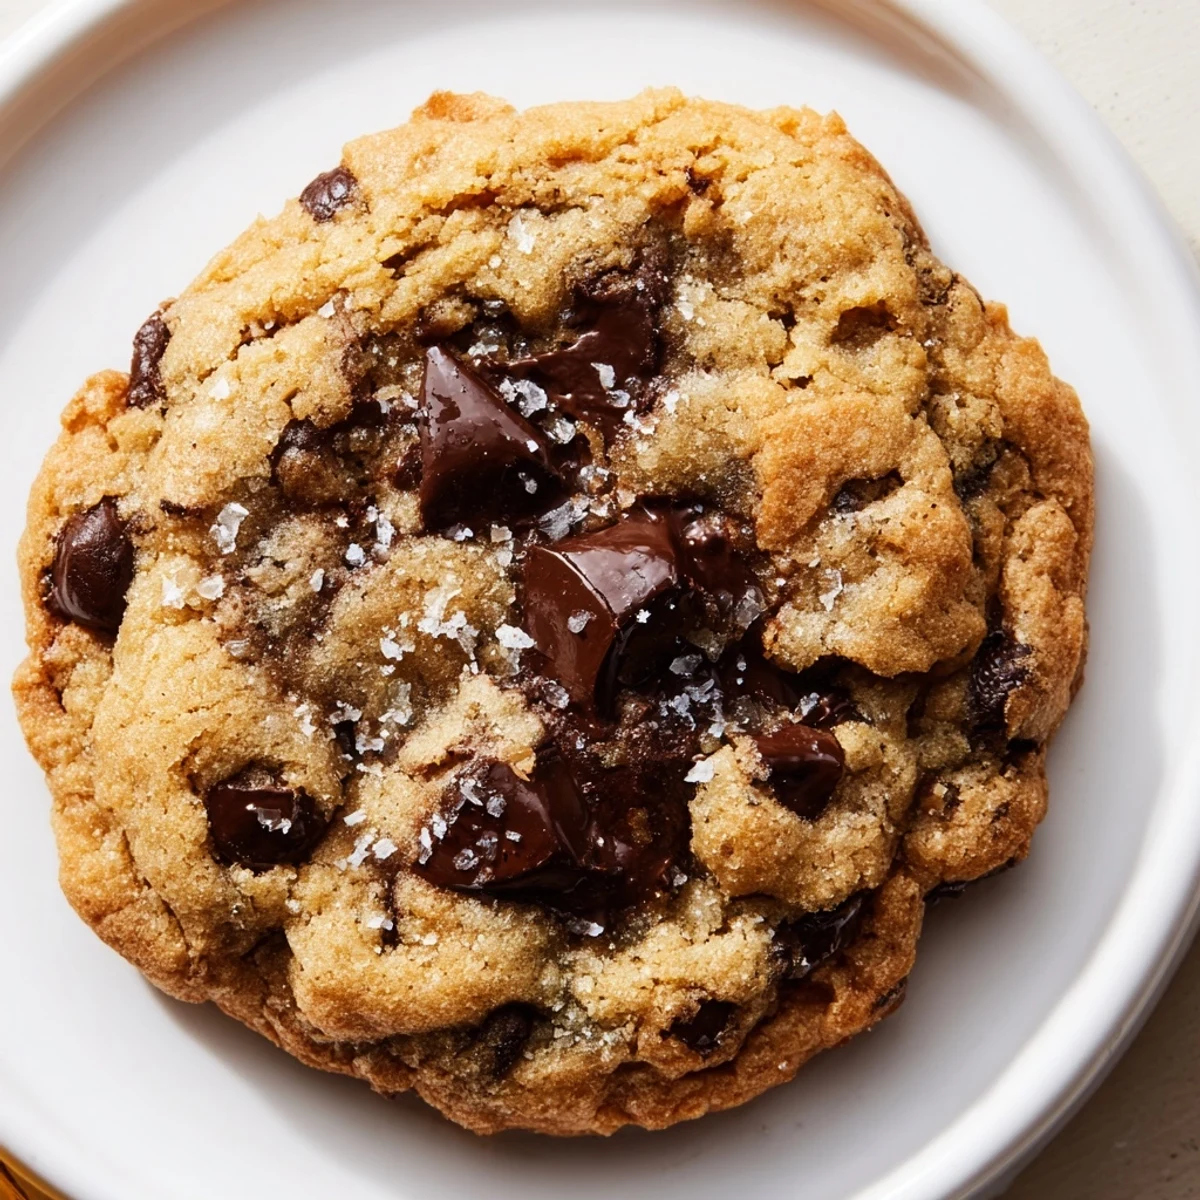
 These soft and chewy chocolate chip cookies deliver classic flavor without any nuts. Made with simple ingredients in just 25 minutes, they're perfect for anyone with nut allergies or seeking safe treats for gatherings. The dough creates perfectly golden edges with slightly soft centers, and you can easily customize with different chocolate varieties.
My college roommate had a severe nut allergy, and I remember feeling helpless when she had to skip every homemade treat at our dorm events. That changed when I started experimenting with nut-free baking, and these cookies became our go-to comfort food during late-night study sessions. Now they're the first recipe I turn to whenever someone says they can't have nuts but still want something genuinely delicious.
Last summer, I made three batches for our neighborhood block party. A mom pulled me aside almost in tears because her son had never been able to eat homemade cookies at events before. Watching that kid happily grab his third cookie made every extra minute of measuring worth it.
Ingredients
- All-purpose flour: The backbone of these cookies, providing structure and that classic bakery texture
- Baking soda: Essential for the perfect rise and those chewy centers we all love
- Salt: Just enough to balance the sweetness and enhance chocolate flavor
- Unsalted butter: Softened to room temperature creates that tender, melt-in-your-mouth texture
- Granulated and brown sugar: The combination gives you crispy edges and chewy middles
- Eggs: Bind everything together while adding richness and structure
- Pure vanilla extract: Don't skimp here, it makes all the difference in classic flavor
- Nut-free chocolate chips: Always double-check the label to ensure they're certified nut-free
Instructions
- Get your oven ready:
- Preheat to 350°F and line those baking sheets with parchment paper now so you're not scrambling later
- Whisk the dry ingredients:
- Combine flour, baking soda, and salt in a medium bowl, then set it aside
- Cream the butter and sugars:
- Beat them together for 2 to 3 minutes until they're light and fluffy, which creates the perfect texture
- Add the wet ingredients:
- Mix in eggs one at a time, then pour in that vanilla extract
- Combine everything:
- Gradually add the dry ingredients and mix just until combined
- Fold in the chocolate chips:
- Use a spatula to gently incorporate them without overworking the dough
- Scoop and space:
- Drop rounded tablespoons onto prepared sheets, leaving about 2 inches between each cookie
- Bake to perfection:
- Pop them in for 9 to 11 minutes until edges are golden and centers still look slightly soft
- Cool completely:
- Let them rest on baking sheets for 5 minutes before moving to a wire rack
 Pin It
 These cookies have become such a staple in our house that my daughter specifically requested them for her school birthday celebration. Her teacher told me later that it was the first time a student with allergies could actually participate in the treat celebration without worry.
Making Them Ahead
I've learned through plenty of last-minute baking that cookie dough freezes beautifully. Scoop it into balls and freeze on a baking sheet before transferring to a bag. That way you can bake fresh cookies in exactly the same amount of time, just adding a minute or two to the baking time.
Getting That Bakery Texture
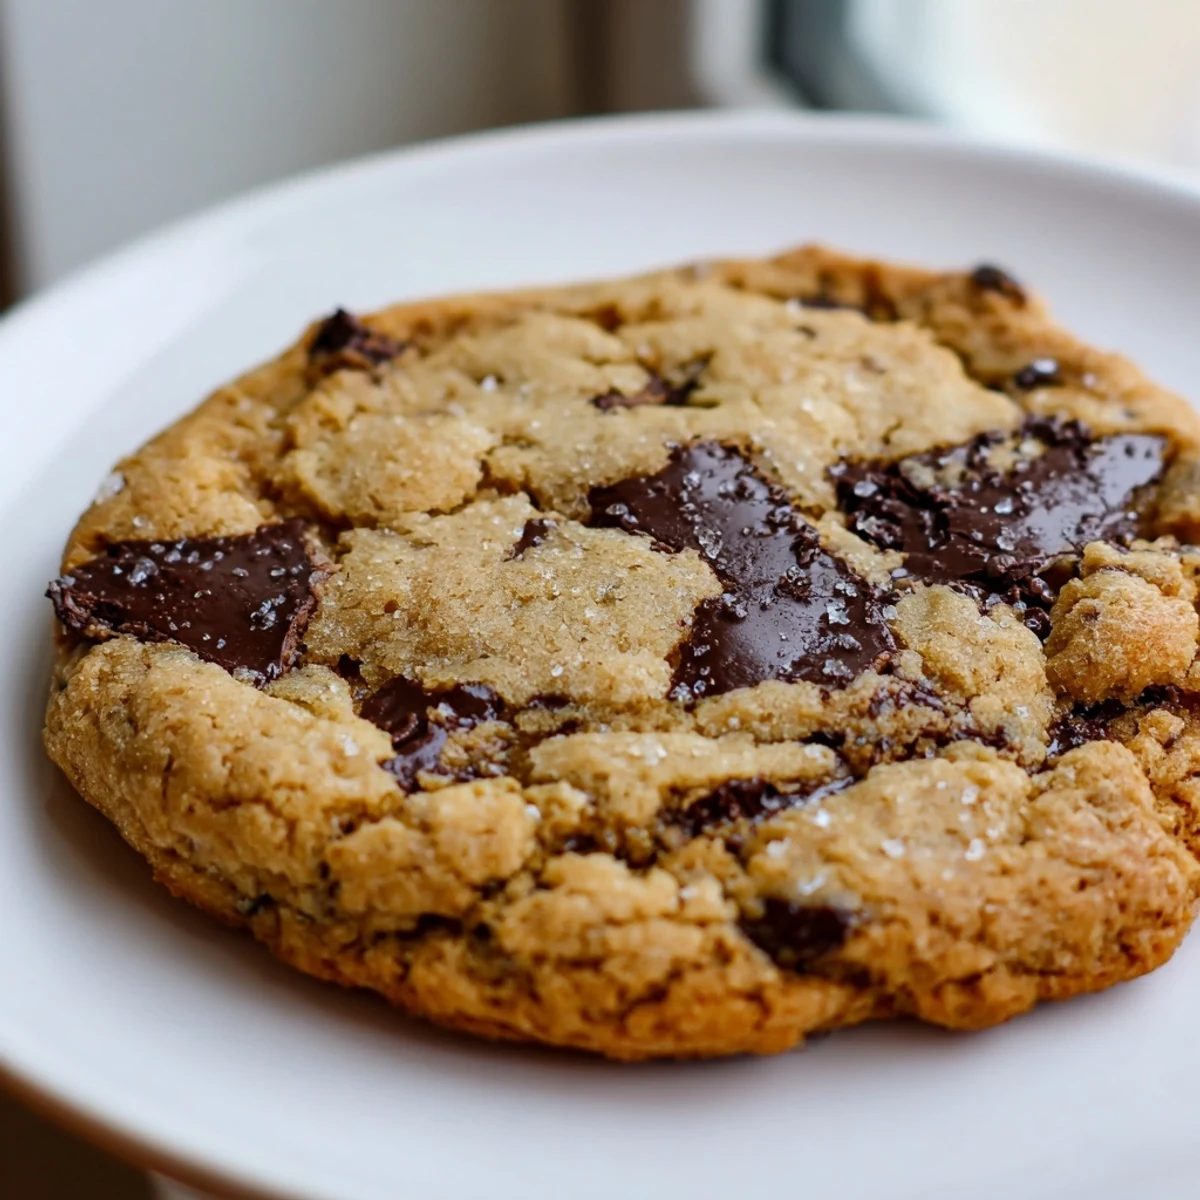
The secret to cookies that taste like they came from a professional bakery is pulling them out when the centers still look slightly underbaked. They continue cooking on the hot baking sheet, which creates that perfect contrast between crispy edges and soft, chewy middles. Letting them cool completely before storing is crucial for texture development.
Storage And Sharing
These cookies stay fresh in an airtight container for up to five days, though they've never lasted that long in my house. If you're gifting them or bringing them to an event, consider attaching a small note listing all ingredients to give peace of mind to anyone with allergies.
- Layer parchment paper between stacked cookies to prevent sticking
- Bring them to room temperature for 10 minutes if refrigerated for best texture
- Always store them away from any nut-containing products to prevent cross-contamination
 Pin It
 There's something incredibly satisfying about baking a treat everyone can enjoy safely. These cookies prove that allergy-friendly doesn't mean flavor-friendly.
Recipe Questions & Answers
- → Are these cookies completely nut-free?
-
Yes, these cookies contain no nuts or nut-derived ingredients. However, always verify that your chocolate chips and other packaged ingredients are certified nut-free to avoid cross-contamination.
- → Can I chill the dough before baking?
-
Absolutely! Chilling the dough for 30 minutes before baking enhances the chewiness and helps prevent spreading too much in the oven.
- → What chocolate chips work best?
-
Nut-free semi-sweet chocolate chips are ideal, but you can substitute with nut-free white chocolate or dried fruit for variety. Always check labels for nut-free certification.
- → How should I store these cookies?
-
Store in an airtight container at room temperature for up to 5 days. For longer freshness, freeze baked cookies for up to 3 months.
- → Can I make these dairy-free?
-
These contain butter, so they're not dairy-free as written. You could experiment with plant-based butter alternatives, though texture may vary slightly.