 Pin It
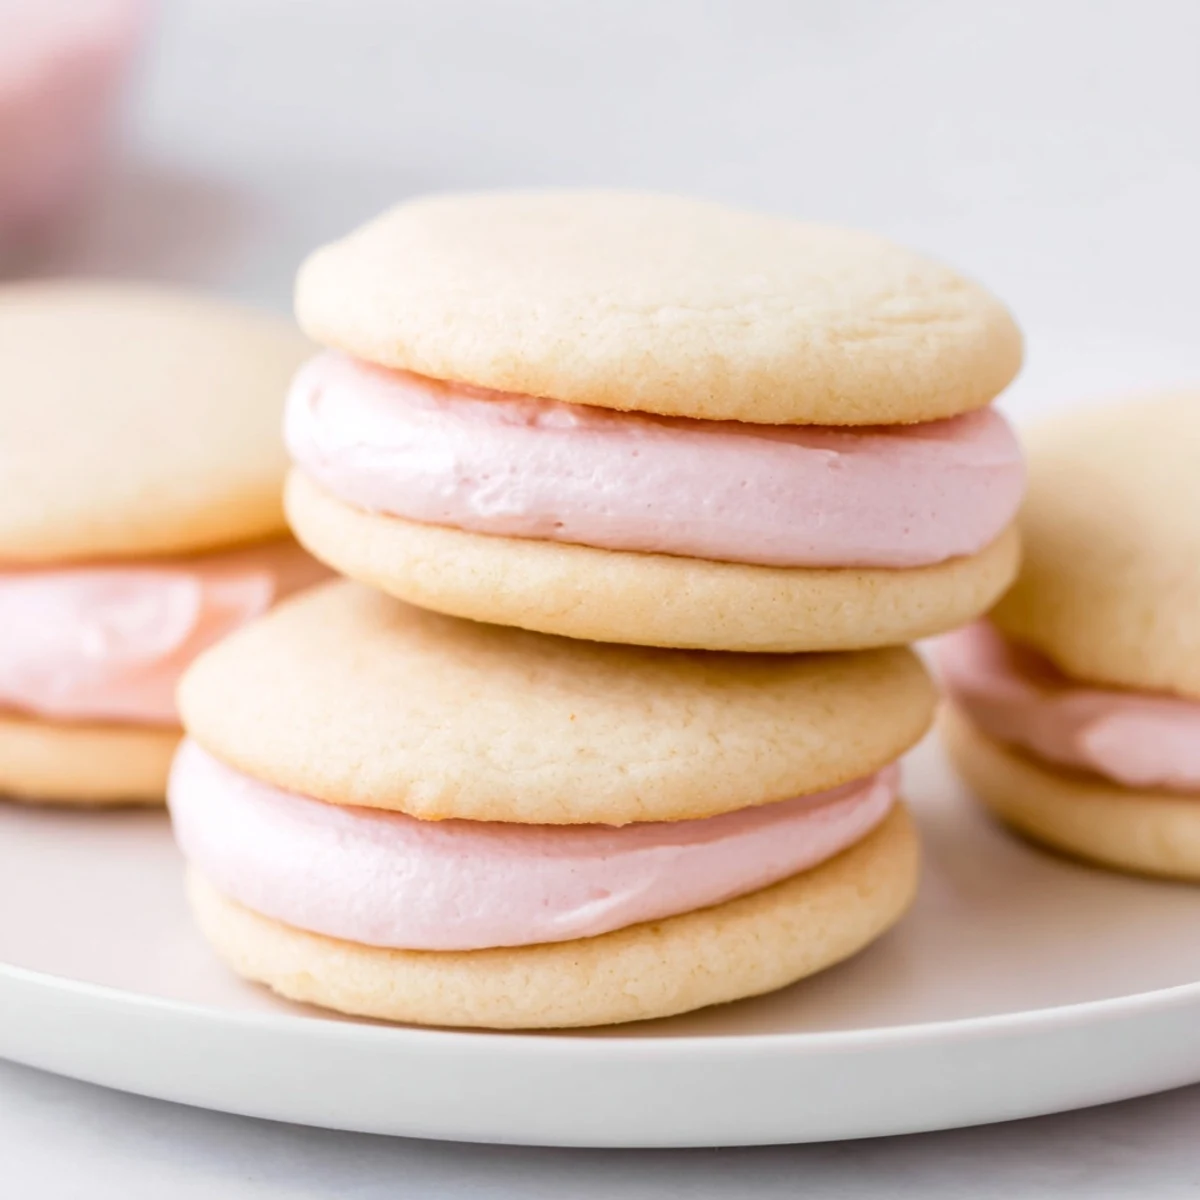
 Create delicate sandwich cookies with crisp sugar cookie shells and lush pastel buttercream centers. The dough requires chilling for easy rolling, while the buttercream divides beautifully into multiple soft hues for a stunning presentation.
The kitchen smelled like vanilla and buttery promise the first time I attempted these for my niece's spring birthday. I'd originally planned plain cookies, but something about the season calling for soft colors made me experiment with gel food coloring at the last minute. Watching the pastel buttercream swirl together in tiny bowls felt like magic, transforming ordinary baking into something special.
My sister walked in midway through assembly and immediately stole an unfilled cookie, declaring them perfect even without the filling. We ended up with an odd number of sandwiches, which just meant we got to taste test the extras while the frosting set.
Ingredients
- All-purpose flour: The foundation that holds everything together, measured carefully for tender results
- Baking powder: Just enough lift to keep these delicate cookies from being too dense
- Salt: A tiny pinch that balances all that sugar and makes the vanilla sing
- Unsalted butter: Room temperature is nonnegotiable here for both cookie dough and silky buttercream
- Granulated sugar: Sweetens the cookie base while creating that perfect crackly edge
- Egg: Binds the dough and adds richness for a cookie that's sturdy but melts in your mouth
- Pure vanilla extract: The backbone of flavor in both cookies and filling, worth using the good stuff
- Powdered sugar: Sifted to prevent lumps and create that cloudlike buttercream texture
- Milk: Just enough to loosen the frosting to spreadable perfection
- Pastel gel food coloring: A little goes a long way for those dreamy spring colors
Instructions
- Whisk the dry ingredients:
- Combine flour, baking powder, and salt in a medium bowl until evenly distributed
- Cream the butter and sugar:
- Beat on medium speed for 2 to 3 minutes until the mixture looks pale and fluffy
- Add the egg and vanilla:
- Mix until everything comes together smoothly, scraping the bowl once
- Incorporate the flour:
- Gradually mix in the dry ingredients just until no streaks remain
- Chill the dough:
- Divide in half, form into discs, wrap tightly, and refrigerate for at least 30 minutes
- Preheat and prepare:
- Heat oven to 350°F with parchment paper ready on baking sheets
- Roll and cut:
- Roll dough to ¼ inch thickness and cut into 2 inch rounds, spaced 1 inch apart
- Bake until just golden:
- Cook for 8 to 10 minutes, watching for edges that barely start to color
- Cool completely:
- Let them rest on the sheets for 2 minutes before moving to cooling racks
- Make the buttercream:
- Beat butter until creamy, then gradually add powdered sugar, milk, vanilla, and salt
- Create pastel colors:
- Divide frosting into small bowls and tint each with a drop of gel coloring
- Assemble the sandwiches:
- Spread or pipe buttercream on half the cookies and top with the remaining ones
- Let them set:
- Wait 20 minutes for the filling to firm up slightly before serving
 Pin It
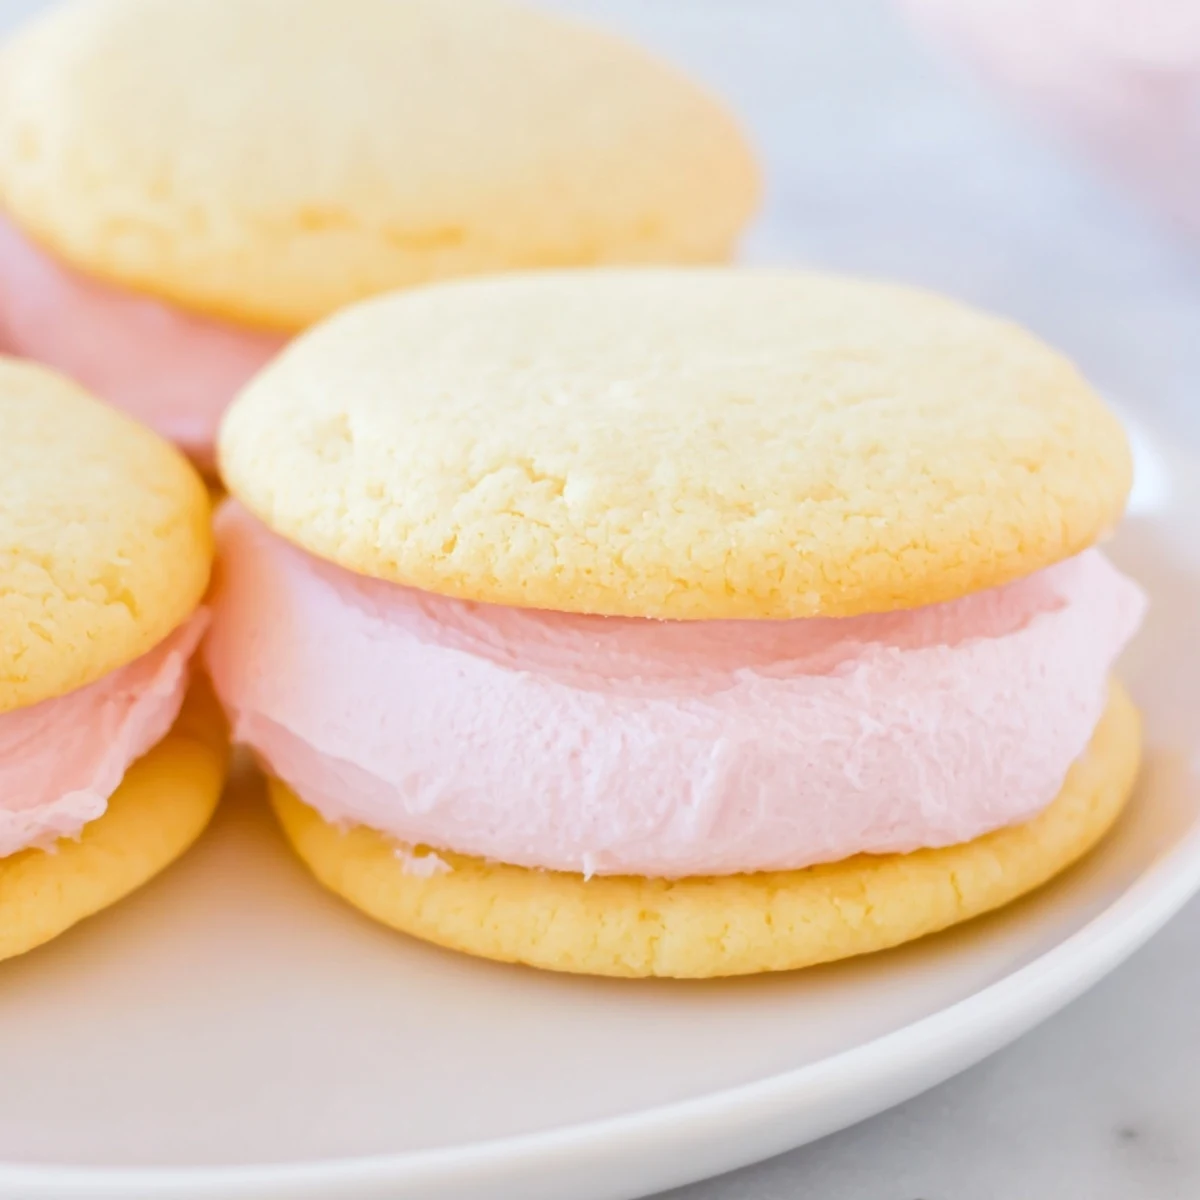
 These became my go-to whenever I needed something that felt like a celebration but didn't require an entire day in the kitchen. Something about the pastel colors makes people smile before they even take a bite.
Making The Colors Your Own
I keep a small set of gel colors on hand just for this recipe because somehow pastel pink frosting tastes better than plain white. The key is adding food coloring one tiny drop at a time, since gel concentrates are incredibly potent and you can always add more but cant take it back.
Getting The Perfect Texture
The cookie dough should feel soft but not sticky when you roll it out. If it's too firm from the refrigerator, let it sit on the counter for just 5 minutes before rolling. Work quickly because the butter will soften as you go, making the cookies harder to cut cleanly.
Assembly Tips That Actually Help
Piping the buttercream looks lovely and feels more professional than spreading it with a knife. A small zip top bag with the corner snipped off works perfectly if you don't have piping bags.
- Match cookies by size before filling so your sandwiches sit evenly
- Roll the edges in sprinkles immediately after assembling while the frosting is still soft
- Store layered between wax paper so they don't stick together
 Pin It
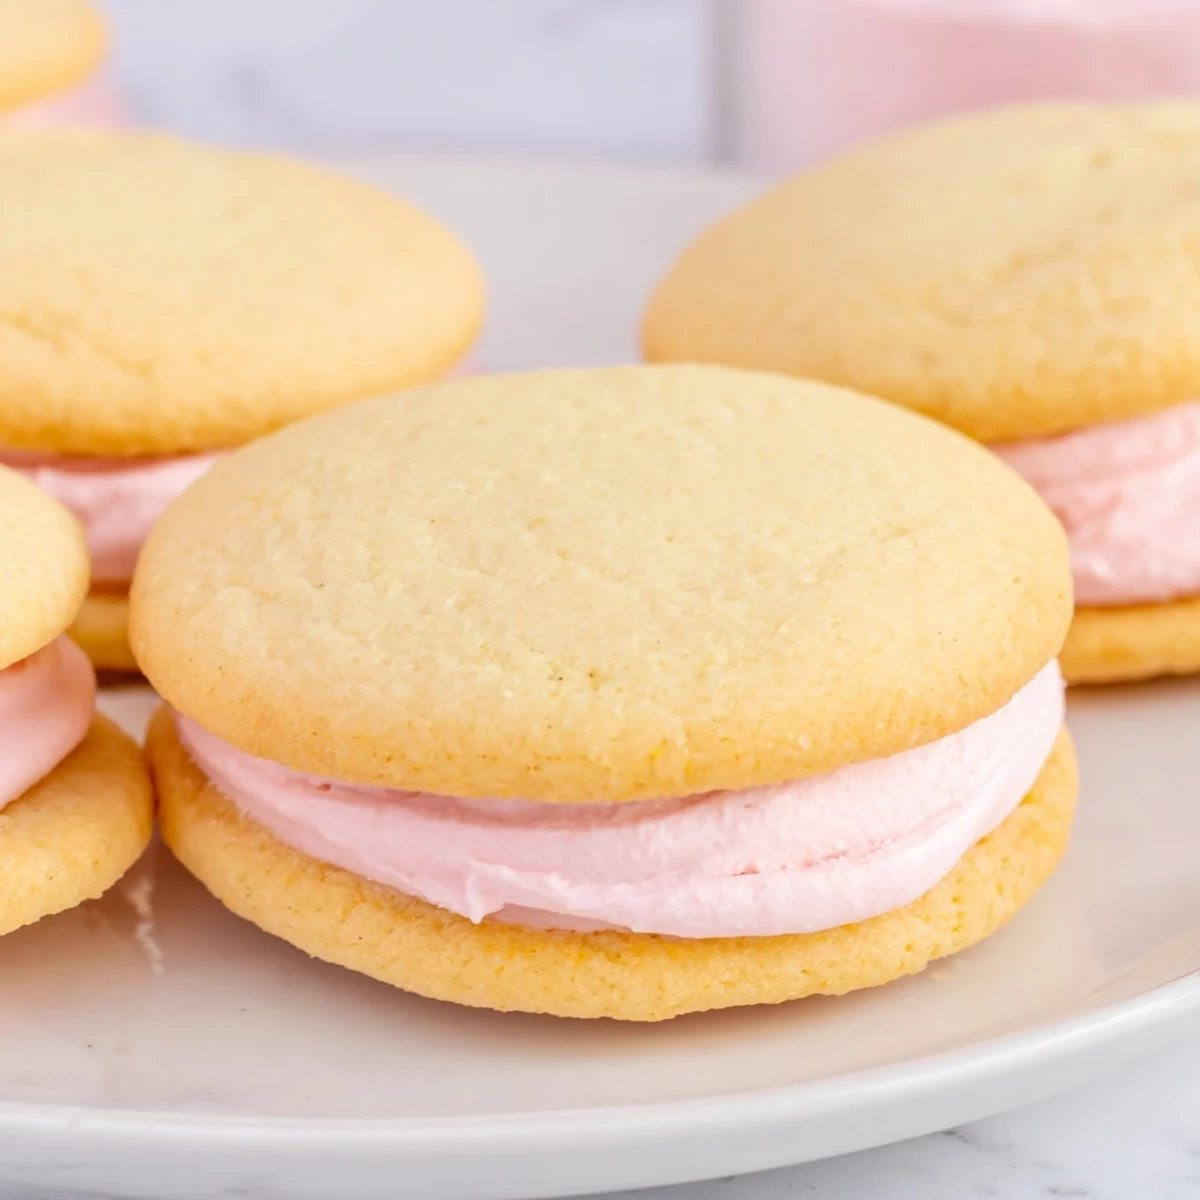
 There's something deeply satisfying about a cookie that looks this impressive coming from such a simple process. Happy baking, and enjoy every pastel bite.
Recipe Questions & Answers
- → How long do these sandwich cookies stay fresh?
-
These treats remain fresh for up to three days when stored in an airtight container at room temperature. The buttercream stays smooth and the cookies maintain their delicate texture throughout.
- → Can I freeze the dough or assembled sandwiches?
-
The cookie dough freezes beautifully for up to three months when wrapped tightly. Assembled sandwiches can also be frozen for one month, though the buttercream texture may be slightly softer after thawing.
- → What's the best way to achieve perfect pastel colors?
-
Use gel food coloring rather than liquid, starting with a tiny amount on a toothpick. Gel colors provide vibrant hues without thinning the buttercream, allowing you to achieve soft pastel shades effortlessly.
- → Why does the dough need chilling?
-
Chilling prevents the dough from spreading too much while baking and makes it easier to roll to the ideal quarter-inch thickness without sticking. Thirty minutes minimum ensures perfect circles every time.
- → Can I make these without a cookie cutter?
-
A round glass or jar opening works perfectly in place of a cookie cutter. Just ensure it measures approximately two inches across for the ideal cookie-to-filling ratio in these delicate sandwiches.