 Pin It
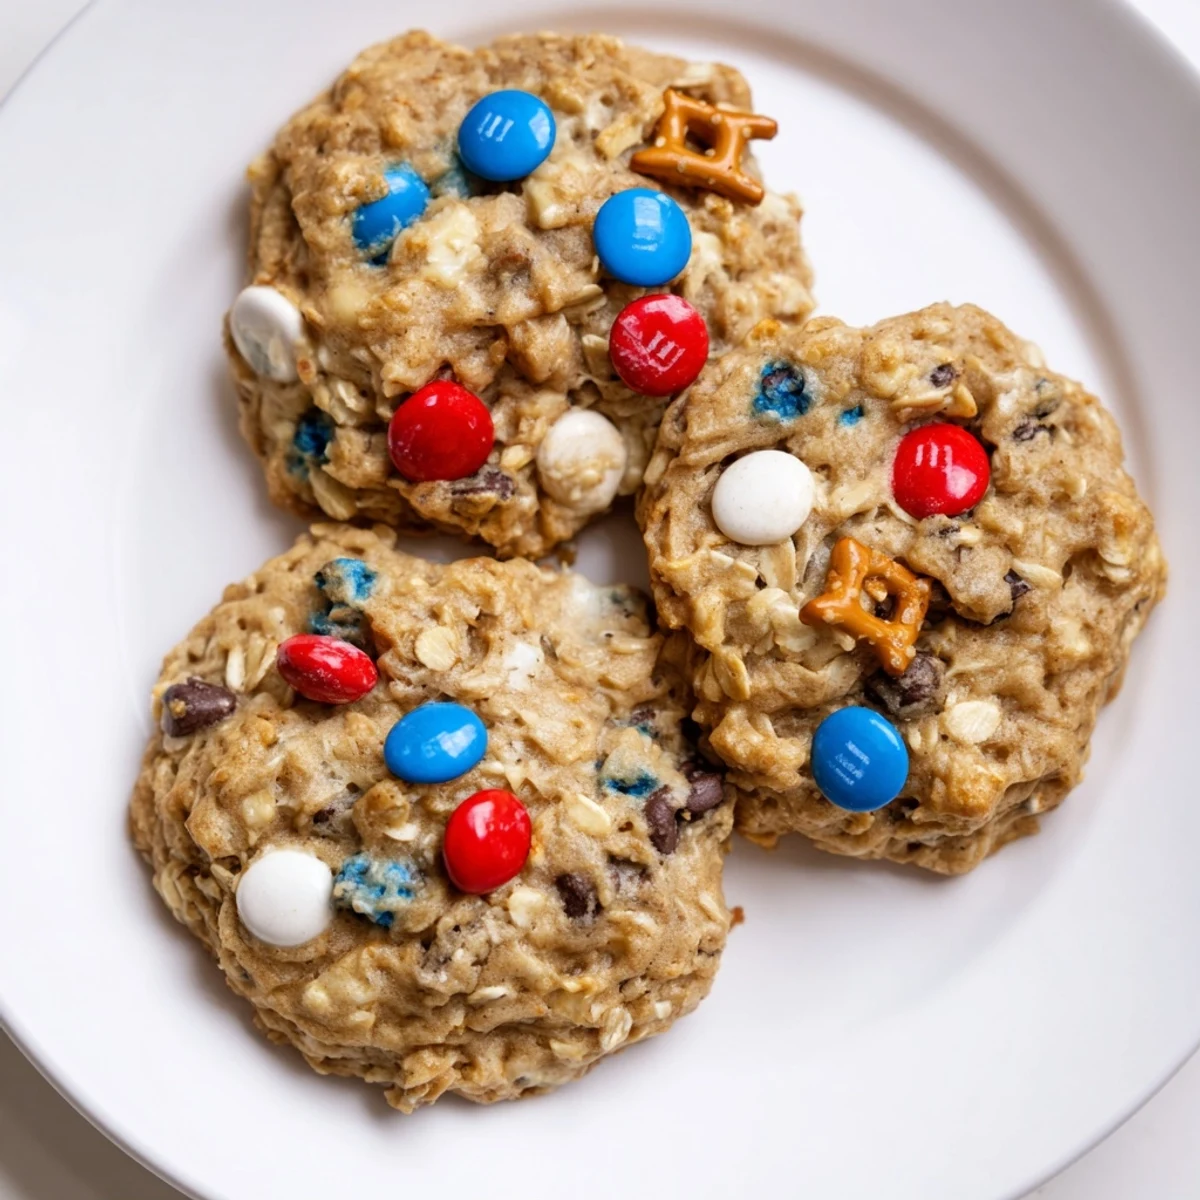
 These chewy Patriotic Monster Cookies combine oats, creamy peanut butter, and brown sugar for a tender, slightly dense bite studded with semisweet chips and red, white, and blue chocolate candies. Cream butter and sugars, beat in peanut butter and eggs, fold in dry mix, then add candies and chips. Bake at 350°F until edges are set and centers remain soft; cool on the sheet for a chewier texture.
As soon as the oven warms up and the scent of melting chocolate fills my kitchen, I know these Patriotic Monster Cookies are about to make any day feel like a celebration. The memory of blue, red, and white candies rolling across my counter as I chased a few runaways has become a cherished kitchen ritual. There's something almost mischievous about the way the pretzel pieces occasionally refuse to stay tucked in the dough, but I secretly love those slightly salty surprises. Every batch ends up looking a little different, speckled and cheerful, so I never quite know which one will be the crowd favorite.
One Fourth of July, as laughter spilled out from our porch, I brought out a tray of these still-warm cookies, and somehow they disappeared before the fireworks even started. Friends swore they intended to 'save some for later' but no one ever does when these are in sight. Even the family dog tried his luck by circling the dessert table with hopeful eyes.
Ingredients
- Unsalted butter: Softening the butter makes it easier to cream and helps create that melt-in-your-mouth texture.
- Granulated sugar: Adds just the right amount of sweetness without making the cookies too heavy.
- Light brown sugar: Gives you that slightly caramel, chewy bite, especially at the edges.
- Creamy peanut butter: Stick to creamy over crunchy for an even dough—I've learned the hard way that chunky pieces can sometimes throw off the spread.
- Large eggs: Room temperature eggs always blend better, so crack them with confidence.
- Vanilla extract: It lifts the overall flavor but go for real extract—there's no substitute for that richness.
- Old-fashioned oats: Don't skimp on the oats—their heartiness is what makes these cookies truly a 'monster.'
- All-purpose flour: Gives the cookies structure; don't overpack your cup or you'll get tough cookies.
- Baking soda: Ensures a light puffiness; make sure it's fresh for best lift.
- Salt: Just enough to balance the sweet and bring out the peanut butter flavor.
- Red, white, and blue chocolate candies: The color turns every batch into a party, and pressing a few extra on top before baking makes them picture-perfect.
- Semisweet chocolate chips: Dependably melty; go with your favorite brand for the richest pockets of chocolate.
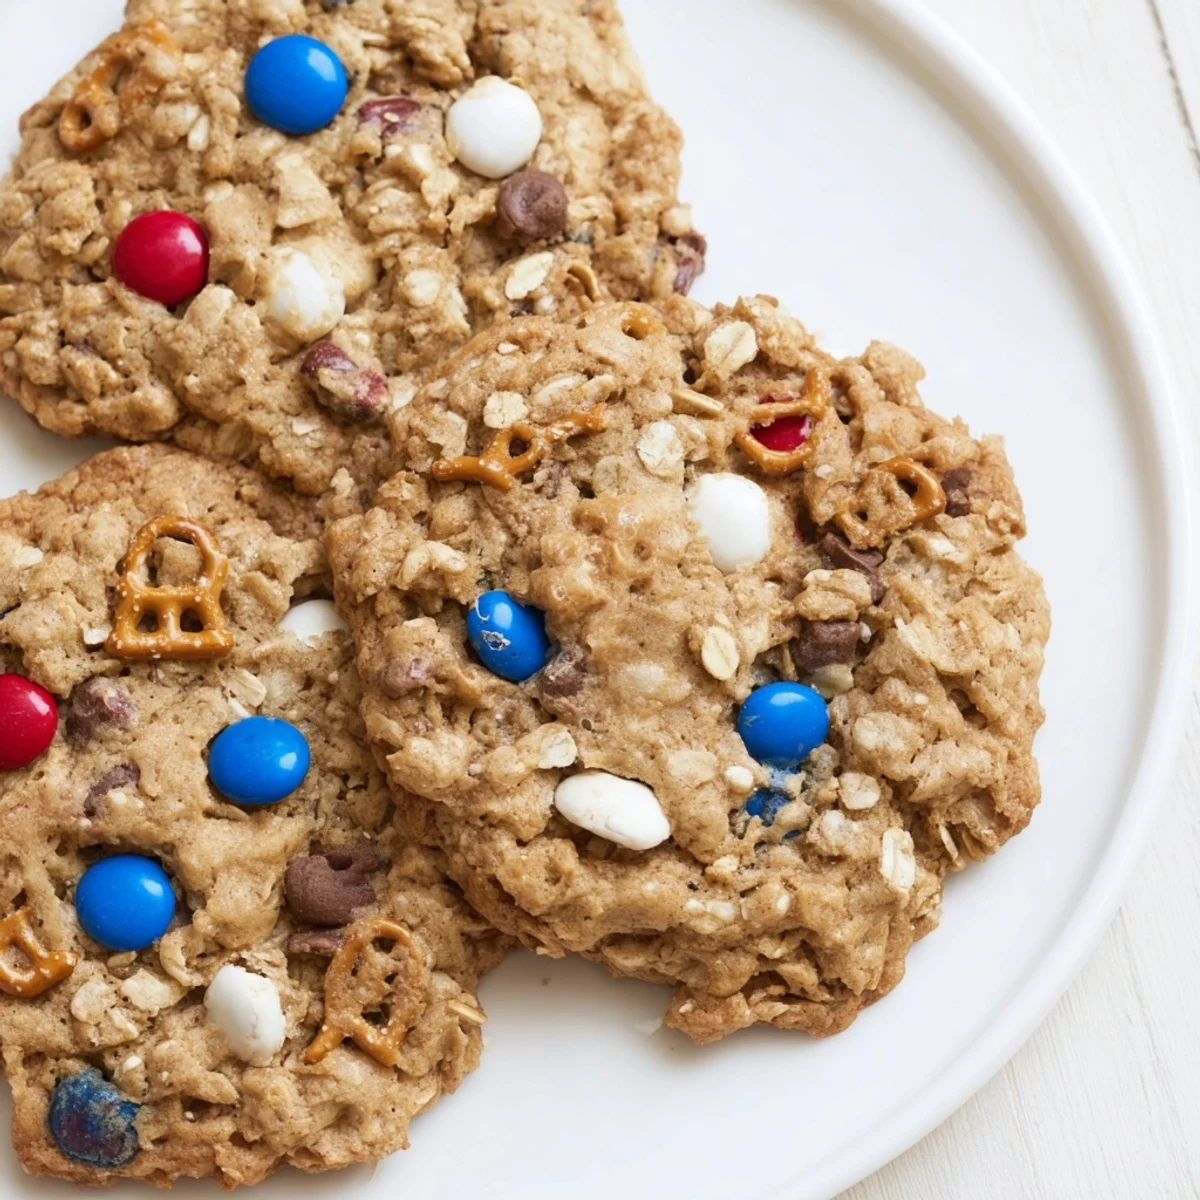
- Mini pretzels (optional): Lightly crushing them gives just enough crunch and a salty contrast; I like to scatter the dustiest fragments on top.
Instructions
- Get Ready:
- Preheat your oven to 350°F (175°C) and line two big baking sheets with parchment paper—there's nothing like that satisfying 'whoosh' as the paper unrolls.
- Mix the Butter and Sugars:
- Use an electric mixer to cream together the butter, granulated sugar, and brown sugar until everything looks light and pale and you can't resist sneaking a taste.
- Blend in Wet Ingredients:
- Spoon in the peanut butter and then crack in the eggs one by one, mixing thoroughly after each; the dough should look glossy and smooth before you stir in the vanilla.
- Whisk the Dry Mix:
- Combine your oats, flour, baking soda, and salt in a separate bowl—the oats give it an inviting, nutty aroma before they even hit the batter.
- Bring Dough Together:
- Slowly add the dry ingredients into the wet mixture, taking your time, just until combined—overmixing develops tough cookies (trust me, I've done it!).
- Stir in Add-Ins:
- Gently fold in the chocolate candies, chocolate chips, and, if using, those delightfully crunchy pretzel bits—I always sneak a few candies for myself here.
- Shape the Cookies:
- Scoop out heaping tablespoonfuls and set them on the trays about two inches apart; don't stress if they're not perfectly round, the rustic look is half the fun.
- Bake to Perfection:
- Bake for 10–12 minutes, pulling them out when the edges turn golden but the centers are still soft—if they look a little underdone, they'll finish setting as they cool.
- Cool and Enjoy:
- Let them rest on the baking sheet for five minutes (hardest wait ever!) before easing them onto a wire rack to cool completely.
 Pin It
 During a backyard picnic, a friend bit into one still warm from the oven and declared it the best cookie he'd ever tasted, mouth half full and all. It was a simple, sweet moment that instantly made this recipe feel like an old family treasure.
Making It Your Own
Once, my niece tossed in a handful of white chocolate chips instead of semisweet, and the cookies tasted even more like summer fireworks. If you crave some crunch, chopped pecans are a worthy substitute for pretzels, and a dash of cinnamon can add extra warmth for winter gatherings.
Keeping Your Cookies Chewy
Letting the cookies finish setting up on the baking sheet is the real secret to perfect chewiness—and makes your kitchen smell irresistible for a bit longer. That lingering fragrance is how I know people will gather back for seconds—no need to announce refills.
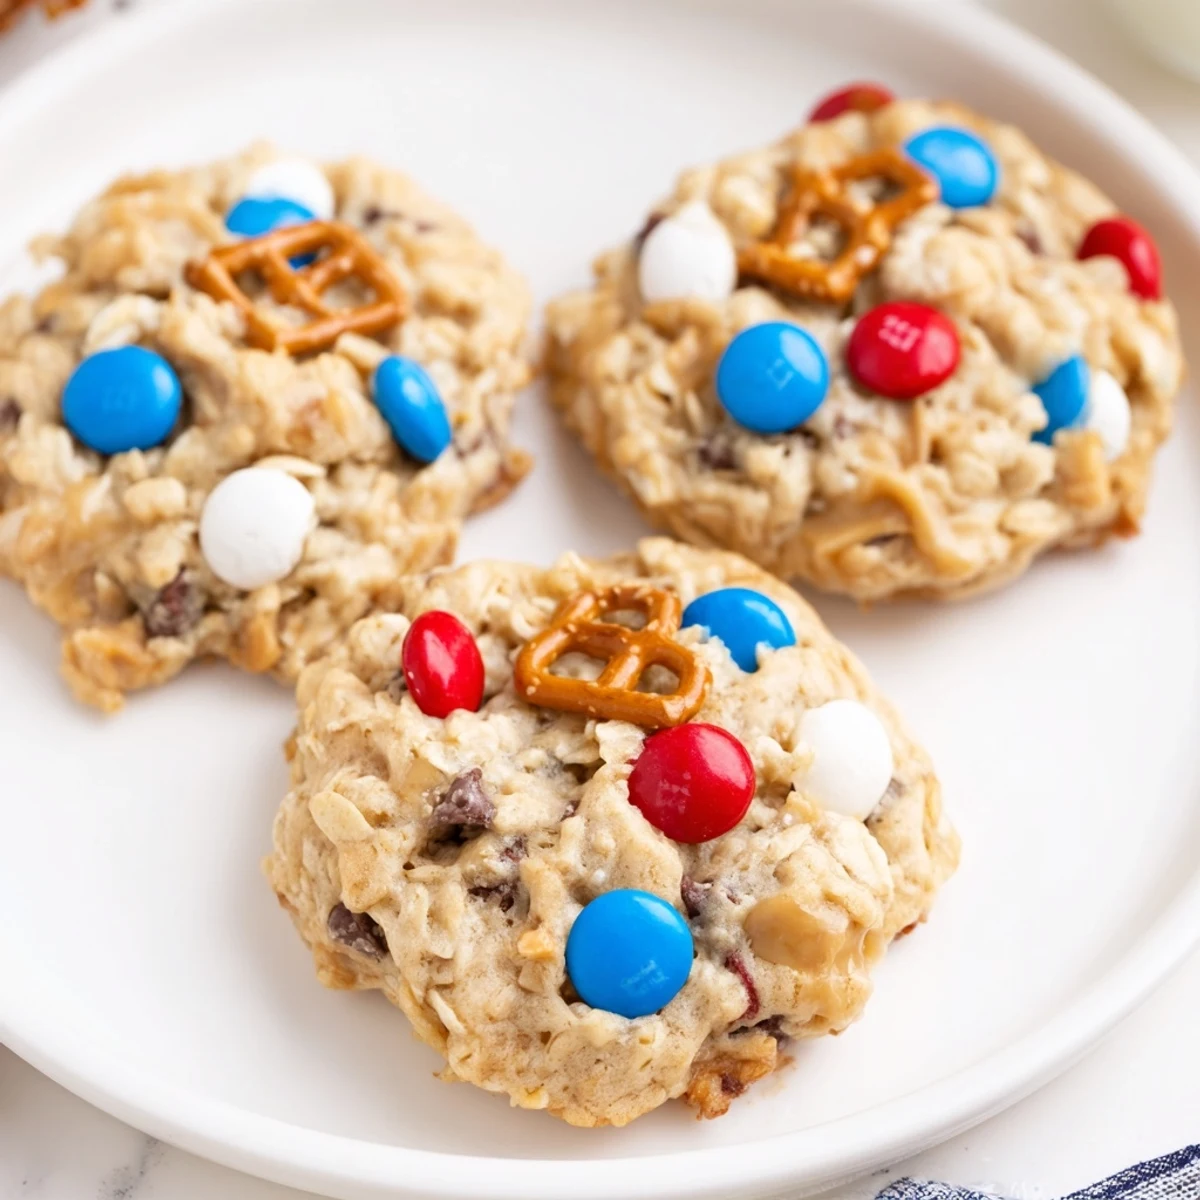
Getting the Right Festive Look
For the most festive results, press a few extra red, white, and blue candies into the tops of the dough balls right before baking. That way, each cookie gets a bold pop of color in every bite, and you never have to search for the prettiest ones when serving friends.
- Be generous with the chocolate chips—they melt into gooey pockets as the cookies cool.
- If your dough gets sticky, a quick chill in the fridge helps make scooping easier.
- Don't forget parchment paper—the easy cleanup is a little victory.
 Pin It
 However you decorate them, these cookies have a way of turning any gathering into a celebration. They’re simple to make, always impressive, and a sweet little excuse to linger with friends just a bit longer.
Recipe Questions & Answers
- → How do I keep the centers chewy?
-
Remove the tray when edges are golden but centers still look slightly soft. Let cookies cool on the baking sheet for 5–10 minutes to finish setting without overbaking.
- → Can I swap the peanut butter?
-
Yes—almond or sunflower butter work well. Note that nut-free alternatives may alter texture and spread, so adjust flour or oats slightly if the dough seems loose.
- → How do I prevent the colored candies from melting?
-
Fold candies in gently and avoid overmixing. Press a few candies onto the tops of scooped dough before baking to preserve color and appearance.
- → What’s the best way to make these gluten-free?
-
Use certified gluten-free old-fashioned oats and swap all-purpose flour for a one-to-one gluten-free flour blend. Chill the dough briefly if it seems too soft before baking.
- → Can I add other mix-ins?
-
Absolutely—chopped nuts, white chocolate chips, or mini pretzels add texture and contrast. Fold additions in last to keep the dough from becoming overworked.
- → How should I store baked cookies?
-
Keep cookies in an airtight container at room temperature for up to four days. For longer storage, freeze baked cookies layered with parchment for up to three months.