 Pin It
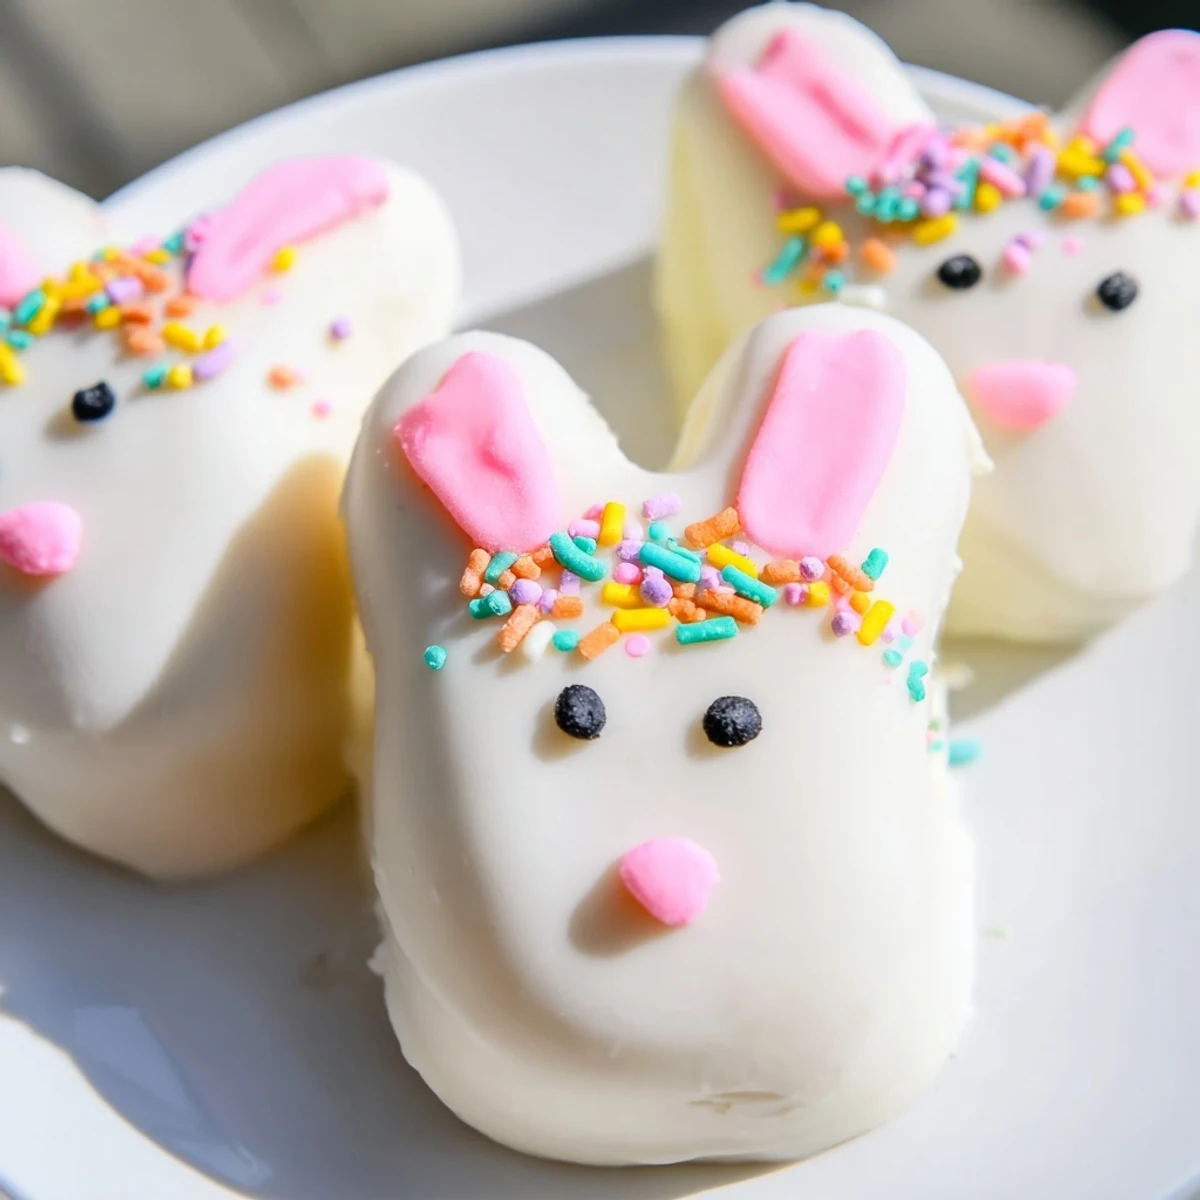
 These adorable bunny-shaped treats combine moist vanilla cake crumbs with cream cheese and butter, shaped into playful faces and dipped in luxurious white chocolate. Perfect for Easter gatherings, spring celebrations, or as a fun weekend activity with children. The preparation is simple—mix crumbled cake with creamy binder, form into bunny shapes, insert sticks, chill until firm, then coat in melted white chocolate. Decorate with candy eyes, sprinkles, or fondant ears and noses to bring each bunny to life. The result is a delightful handheld dessert that's as charming to display as it is delicious to eat.
The kitchen was already dusted with flour when my daughter announced she wanted Easter treats that would make her friends gasp. We'd made ordinary cake pops before, but she had her heart set on something extraordinary—bunny-shaped cakesicles that looked like they hopped straight out of a storybook. That afternoon of trial and error became our favorite Easter tradition, filled with sticky fingers and laughter.
Last spring, I made three dozen for my nephews class party and watched their faces light up as they discovered the bunny faces hidden in the treat basket. One little boy told me it was like eating magic and I realized these silly cakes had become something special.
Ingredients
- Vanilla cake crumbs: The foundation of your cakesicle—homemade or storebought both work beautifully, though slightly stale cake actually binds better
- Cream cheese: This creates the creamy dough that holds everything together without making the mixture too sweet
- Unsalted butter: Room temperature is nonnegotiable here—cold butter creates lumps that refuse to blend smoothly
- Powdered sugar: Just enough to sweeten the dough without overpowering the white chocolate coating
- Vanilla extract: Pure vanilla makes a noticeable difference in the final flavor profile
- White chocolate: Highquality melts or baking bars produce the smoothest coating—chocolate chips often seize and become grainy
- Food coloring: Gel colors work best for painting bunny details without thinning the chocolate
- Cakesicle sticks: Paper sticks give a more elegant look than plastic ones
Instructions
- Mix the cake dough:
- Combine cake crumbs, cream cheese, butter, powdered sugar, and vanilla in a medium bowl, mixing until the mixture holds together when squeezed but isnt sticky
- Shape your bunnies:
- Portion the dough into 8 equal pieces and gently flatten each into an oval with slightly pointed top for ears, about ½ inch thick
- Add the sticks:
- Press a cakesicle stick about 1 inch into the bottom of each shape, then refrigerate for 20 minutes until firm—cold centers dip much better
- Melt the chocolate:
- Heat white chocolate in 30second bursts, stirring between each, until completely smooth and fluid
- Dip and decorate:
- Submerge each cake shape in chocolate, tap off excess, and immediately add candy eyes and sprinkles before the coating sets
 Pin It
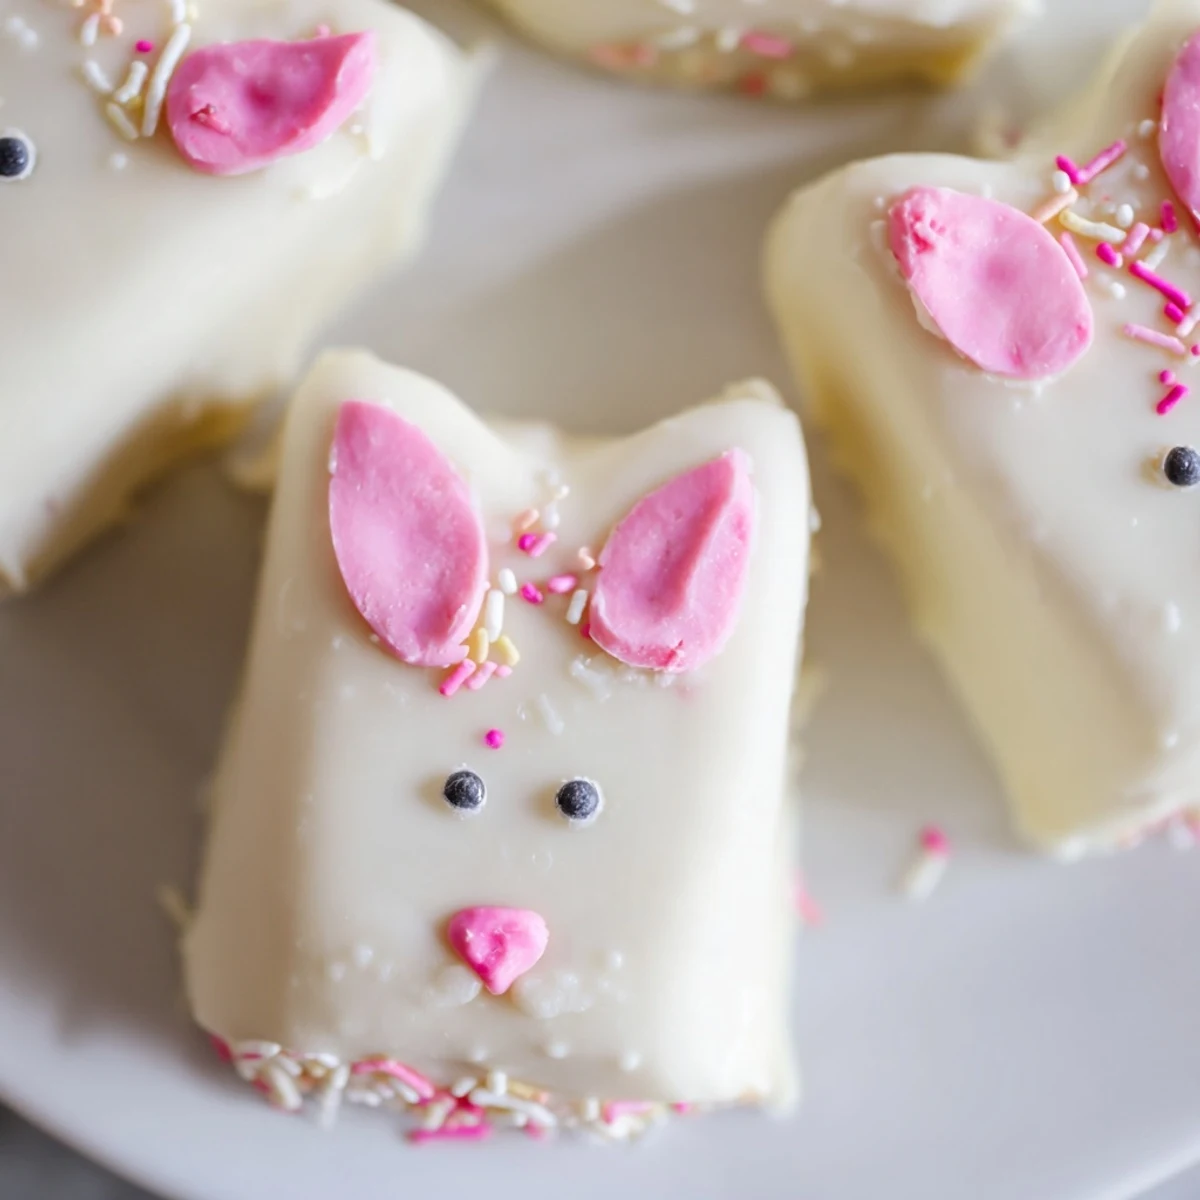
 My youngest insisted on making a whole family of bunnies, each with different ear expressions, and now I cant imagine Easter without our little bunny cakesicle colony peeking out from the dessert table.
Making Ahead Like A Pro
These cakesicles actually improve after a night in the fridge—the flavors meld together and the coating sets perfectly. I always make them the day before Easter brunch and store them standing up in a glass with parchment between layers.
Decoration Magic
Fondant creates the most elegant bunny ears and noses, though pretzel halves give a charming rustic look. The trick is working quickly once the chocolate coating is applied—everything sticks better in that brief window before it hardens completely.
Flavor Adventures
Lemon cake crumbs with white chocolate creates the most refreshing spring combination, while chocolate cake with white coating mimics those beloved chocolatecovered strawberry flavors. Consider swirling a tiny bit of pink gel coloring into your white chocolate for a marbled effect that looks absolutely stunning.
- Try rolling the edges in crushed pastel sprinkles instead of dipping fully
- A pinch of sea salt on the wet chocolate balances the sweetness beautifully
- Keep leftover melted chocolate in a sealed container for your next baking project
 Pin It
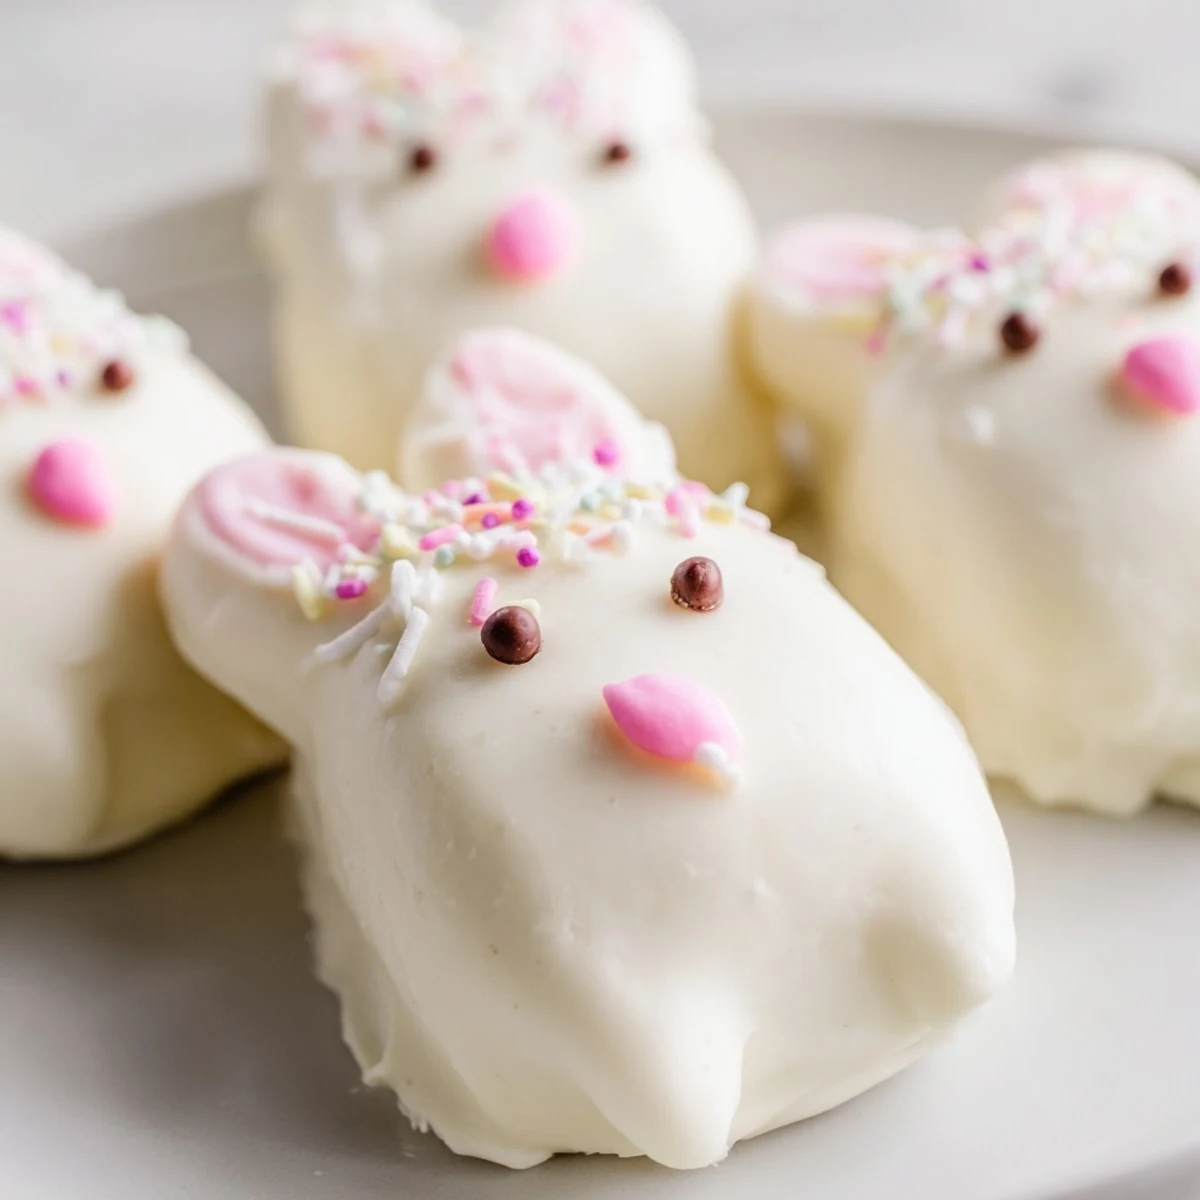
 These little bunnies have become the most requested treat in our house, and honestly, nothing beats seeing someone bite into a cakey chocolate rabbit and smile.
Recipe Questions & Answers
- → How far in advance can I make these bunny cakesicles?
-
You can prepare the cake mixture and shape the bunnies up to 2 days ahead. Store them in the refrigerator, tightly covered. Dip and decorate within 24 hours of serving for the freshest appearance. The complete cakesicles keep well in an airtight container for 3 days.
- → Can I use different cake flavors instead of vanilla?
-
Absolutely! Chocolate cake creates a delicious contrast with white chocolate coating. Lemon, strawberry, or red velvet work beautifully too. Just ensure your cake crumbs are finely crumbled and not overly moist before mixing with the binder.
- → What if my white chocolate coating is too thick for dipping?
-
Add 1 teaspoon of coconut oil or vegetable shortening to the melted chocolate and stir thoroughly. This thins the coating without affecting flavor. For the smoothest results, use white chocolate melts specifically designed for coating.
- → Do I need a special cakesicle mold?
-
No special mold is required! You can shape the mixture by hand into flattened ovals or bunny faces. However, a cakesicle mold ensures uniform shapes and makes the process faster. Both methods produce delicious results.
- → How can I prevent the sticks from falling out while dipping?
-
Chill the shaped bunnies for at least 20-30 minutes before inserting sticks. Push sticks about halfway through the cake mixture. After inserting, chill for another 10-15 minutes to set. This ensures sticks stay secure during the chocolate coating process.
- → What's the best way to store these for an Easter party?
-
Keep completed cakesicles in an airtight container in the refrigerator, layered between parchment paper. Bring to room temperature 15-20 minutes before serving for optimal texture. For display, arrange them upright in a jar filled with sprinkles or in a decorated stand.