 Pin It
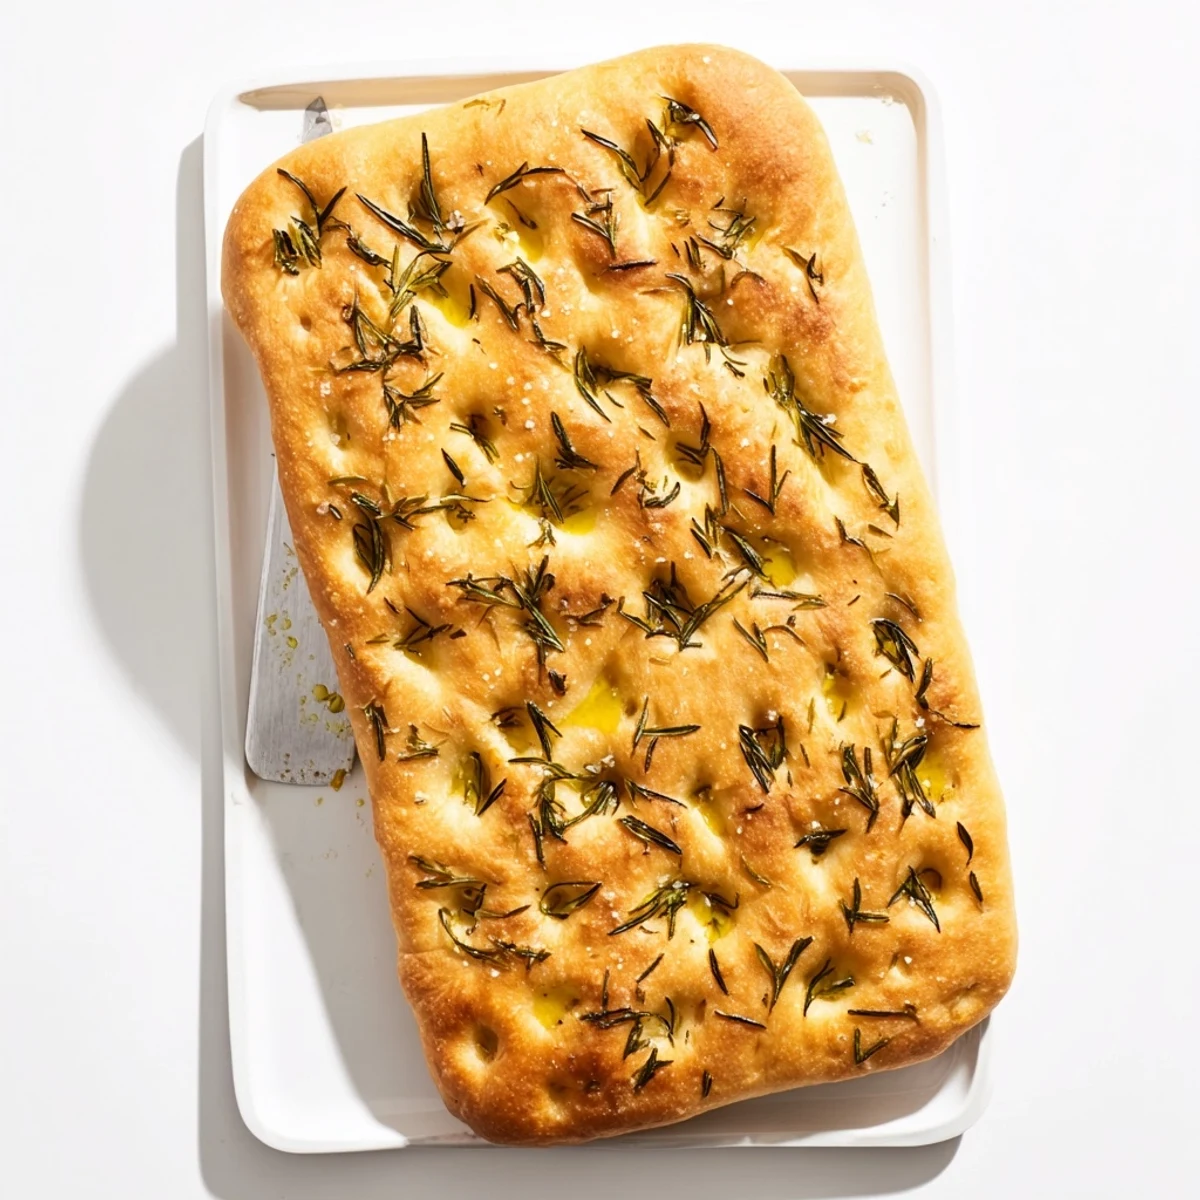
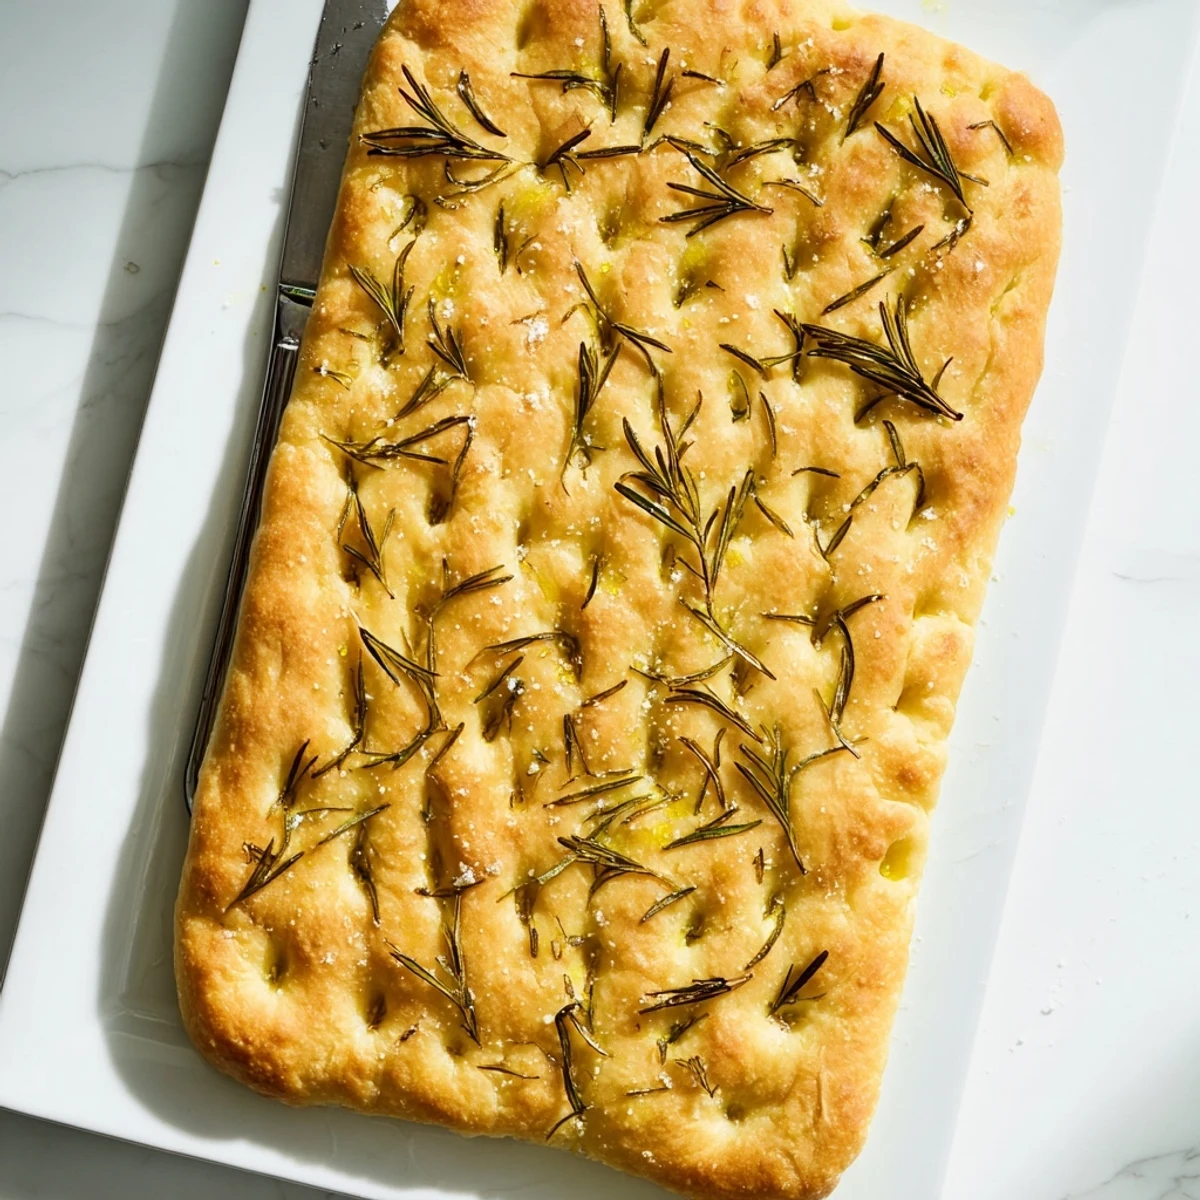
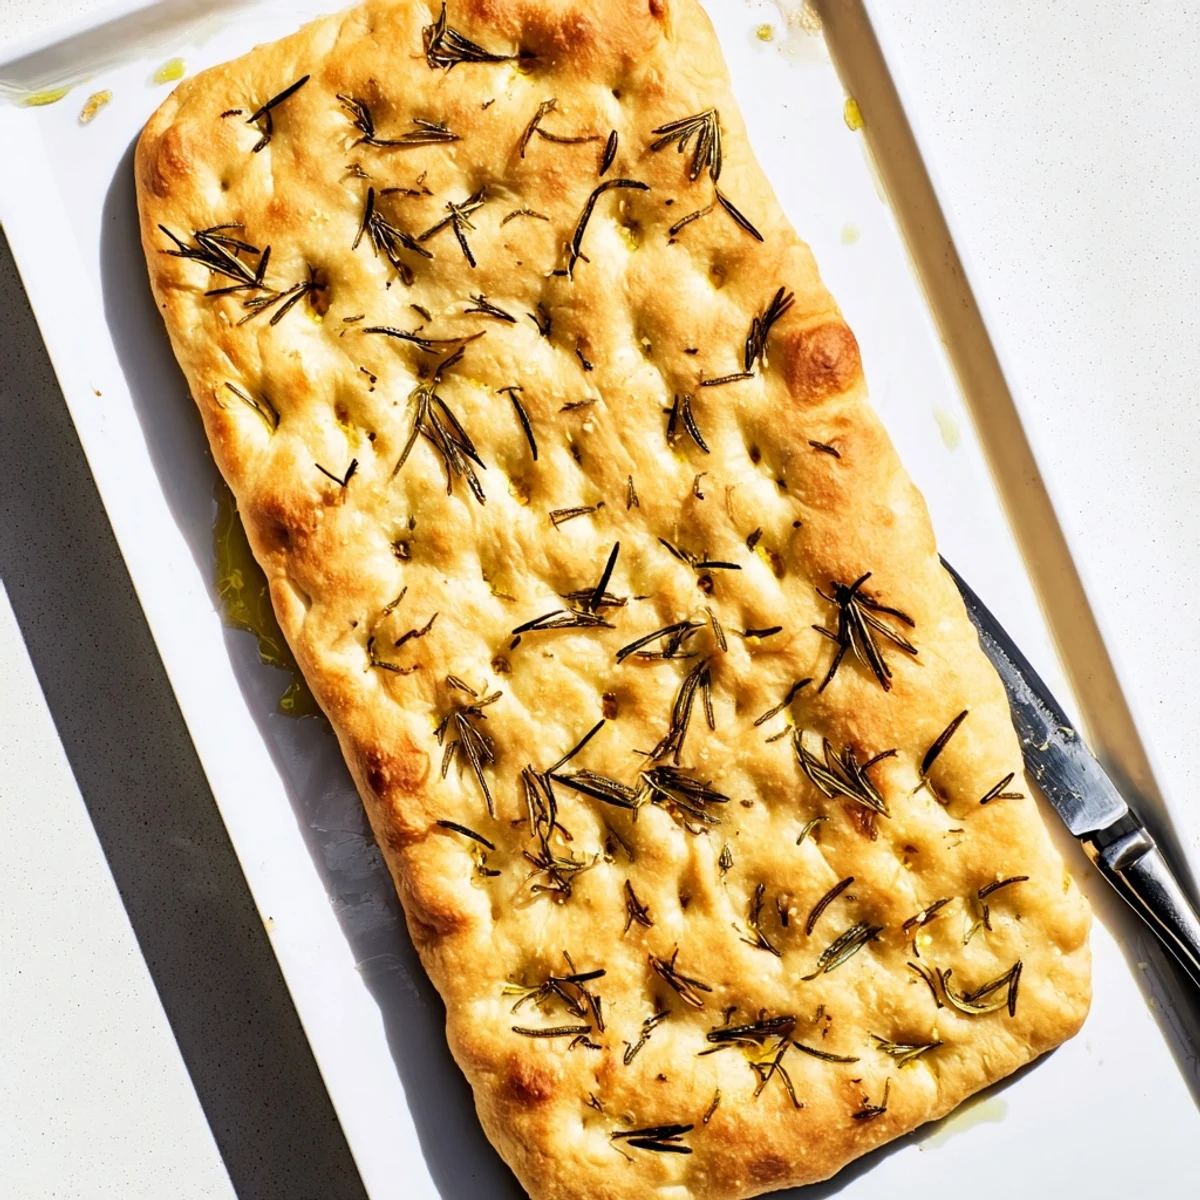
 Master the art of authentic Italian focaccia with this straightforward method. Achieve that signature golden crust and pillowy interior through proper kneading and two-stage rising. The dough develops deep flavor from extra virgin olive oil while fresh rosemary and flaky sea salt create the classic aromatic topping.
Perfect for beginners wanting to explore bread making, this focaccia requires basic pantry ingredients and delivers professional results. The dimpling technique creates those characteristic pockets that capture olive oil, ensuring each bite is perfectly moist and flavorful.
The sound of olive oil sizzling against hot bread dough is something you never forget once you hear it. My neighbor Giulia once banged on my apartment wall at seven in the morning because the smell of rosemary focaccia had crept through the vent and woke her with an appetite. She appeared at my door in slippers, coffee mug in hand, asking what in the world I was baking. We stood in my tiny kitchen tearing off warm pieces straight from the pan, and neither of us bothered with plates.
I brought a tray of this focaccia to a potluck once and watched a man I had never met eat four pieces standing up before even saying hello. He later told me it reminded him of his nonnas bread in Liguria, which remains the greatest compliment my baking has ever received.
Ingredients
- 500 g bread flour: Bread flour gives that chewy structure focaccia is known for, but all purpose works fine if that is what you have.
- 325 ml lukewarm water: It should feel like warm bath water, not hot, because scalding water kills the yeast instantly.
- 2 tsp salt: Salt strengthens the gluten network and balances the flavor, so do not skimp here.
- 2 tsp sugar: Just enough to wake up the yeast and give it something to feast on.
- 7 g instant dry yeast: One standard packet is exactly right, no measuring needed.
- 60 ml extra virgin olive oil (dough): This is what makes focaccia taste like focaccia, rich and fruity and unmistakable.
- 2 tbsp extra virgin olive oil (topping): A generous final drizzle that pools in the dimples and crisps in the oven.
- 1 tbsp fresh rosemary leaves: Strip the needles right off the stem and scatter them freely, or use dried if fresh is unavailable.
- Flaky sea salt: The big crunchy flakes on top are not optional, they are the finishing touch that makes every bite sing.
Instructions
- Bring the dough together:
- In a large bowl, whisk the flour, salt, sugar, and instant yeast so everything is evenly distributed before the wet ingredients join the party. Pour in the lukewarm water and olive oil, then stir with a wooden spoon or your hand until you have a sticky, shaggy mass of dough.
- Knead with patience:
- Turn the dough onto a floured surface and work it for eight to ten minutes, pushing it away with the heel of your hand and folding it back. It will transform from a tacky mess into something smooth, springy, and almost satiny under your fingers.
- Let it rise and breathe:
- Nestle the dough into a lightly oiled bowl, cover it with a damp cloth or plastic wrap, and find a warm spot in your kitchen. Leave it alone for one to one and a half hours until it has puffed up and doubled in size, which is the moment when all the real magic happens.
- Shape and dimple:
- Generously oil your baking tray, about thirty by forty centimeters, then gently ease the risen dough onto it. Press and stretch it outward with oiled fingertips, creating those characteristic deep dimples that catch pools of oil and herbs.
- Dress the surface:
- Drizzle the remaining olive oil over the top, scatter the rosemary needles, and finish with a generous shower of flaky sea salt. Cover loosely and let it puff for another thirty minutes while you preheat your oven to 220 degrees Celsius.
- Bake until golden:
- Slide the tray into the hot oven and bake for twenty to twenty five minutes, watching for that deep golden color and hearing the base sound hollow when tapped. Let it cool just slightly on the tray before slicing, because the texture settles as the steam escapes.
 Pin It
 There is a particular quiet that settles over a kitchen when bread is in the oven, a calm anticipation that nothing else I cook ever quite replicates.
Making It Your Own
Once you feel confident with the basic recipe, focaccia becomes a canvas for whatever flavors you are craving. Press halved cherry tomatoes into the dimples, scatter kalamata olives, or lay down ribbons of caramelized onion before the final rise. Each topping brings its own moisture, so watch the baking time closely because wet additions can soften the crust.
Serving and Storing
Focaccia is at its absolute best within the first two hours of leaving the oven, when the crust still crackles and the interior stays soft and steamy. To store leftovers, wrap them tightly in foil and reheat in a moderate oven for five minutes to bring back some of that initial crunch. It also freezes surprisingly well if you slice it first and wrap each piece individually.
Tools and Ingredients Worth Having
A rimmed baking tray with a little depth to it holds the oil better than a flat sheet pan and helps the edges fry up crisp and golden. If you own a pizza stone, preheating it and setting your tray directly on top gives the base an extra level of crunch that is hard to achieve otherwise. Beyond that, this bread asks for very little in terms of specialized equipment.
- A kitchen scale is more reliable than measuring cups for getting the flour ratio precise.
- Invest in a bottle of decent extra virgin olive oil because you can truly taste the difference here.
- Always check your yeast expiration date before starting, because dead yeast means dead dough.
 Pin It
 Every time I pull a tray of focaccia from the oven I think of Giulia standing barefoot in my kitchen, oil on her chin, grinning like she had found buried treasure. Good bread does that to people, it turns strangers into friends and kitchens into places worth lingering.
Recipe Questions & Answers
- → What makes focaccia different from regular bread?
-
Focaccia features a higher ratio of olive oil and water to flour, creating a softer, moister texture. The dough is pressed flat and dimpled to trap oil, resulting in that distinctive bubbly interior and crisp, golden exterior unlike standard loaf breads.
- → Why is my focaccia not rising properly?
-
Ensure your water is lukewarm (not hot) to activate yeast without killing it. Let dough rise in a warm, draft-free spot. If your kitchen is cool, preheat your oven briefly, turn it off, and place the dough inside - the residual warmth helps rising.
- → Can I use all-purpose flour instead of bread flour?
-
Yes, all-purpose flour works well. Bread flour creates a slightly chewier texture due to higher protein content, while all-purpose yields a more tender crumb. Both produce delicious results with no other adjustments needed.
- → How do I store focaccia and how long does it last?
-
Wrap cooled focaccia tightly in plastic or store in an airtight container at room temperature for 2-3 days. For longer storage, freeze sliced portions in freezer bags for up to 3 months. Reheat in a 350°F oven for 5-10 minutes to restore crispiness.
- → What toppings work well with focaccia?
-
Beyond classic rosemary and sea salt, try halved cherry tomatoes, black olives, caramelized onions, roasted garlic, or fresh thyme. Press toppings gently into the dimpled dough before the final rise to ensure they adhere during baking.
- → Why do I dimple the focaccia dough?
-
Dimpling with your fingertips creates those signature pockets that hold olive oil, keeping the bread moist and flavorful. It also prevents air bubbles from forming large pockets during baking, ensuring an even texture throughout.